Create from Scan
Digitize textbook pages and handwritten notes into structured study materials using OCR and AI
Transform physical materials — textbook pages, handwritten notes, whiteboards, printed handouts — into digital, searchable study notes. Notesmakr uses OCR (Optical Character Recognition) to extract text from images, then AI creates structured study materials.
When to Use Scan Notes
Scan notes are perfect for:
- Textbook pages: Capture pages without typing
- Handwritten notes: Digitize your own or classmates' notes
- Printed handouts: Study guides, worksheets, problem sets
- Whiteboard content: Capture lecture boards before they're erased
- Diagrams and charts: Extract text from visual materials
- Old notes: Convert paper archives to digital
For solving math, chemistry, or physics problems step-by-step, use Snap & Solve instead. Scan Notes is focused on creating study notes from text content.
Step-by-Step Guide
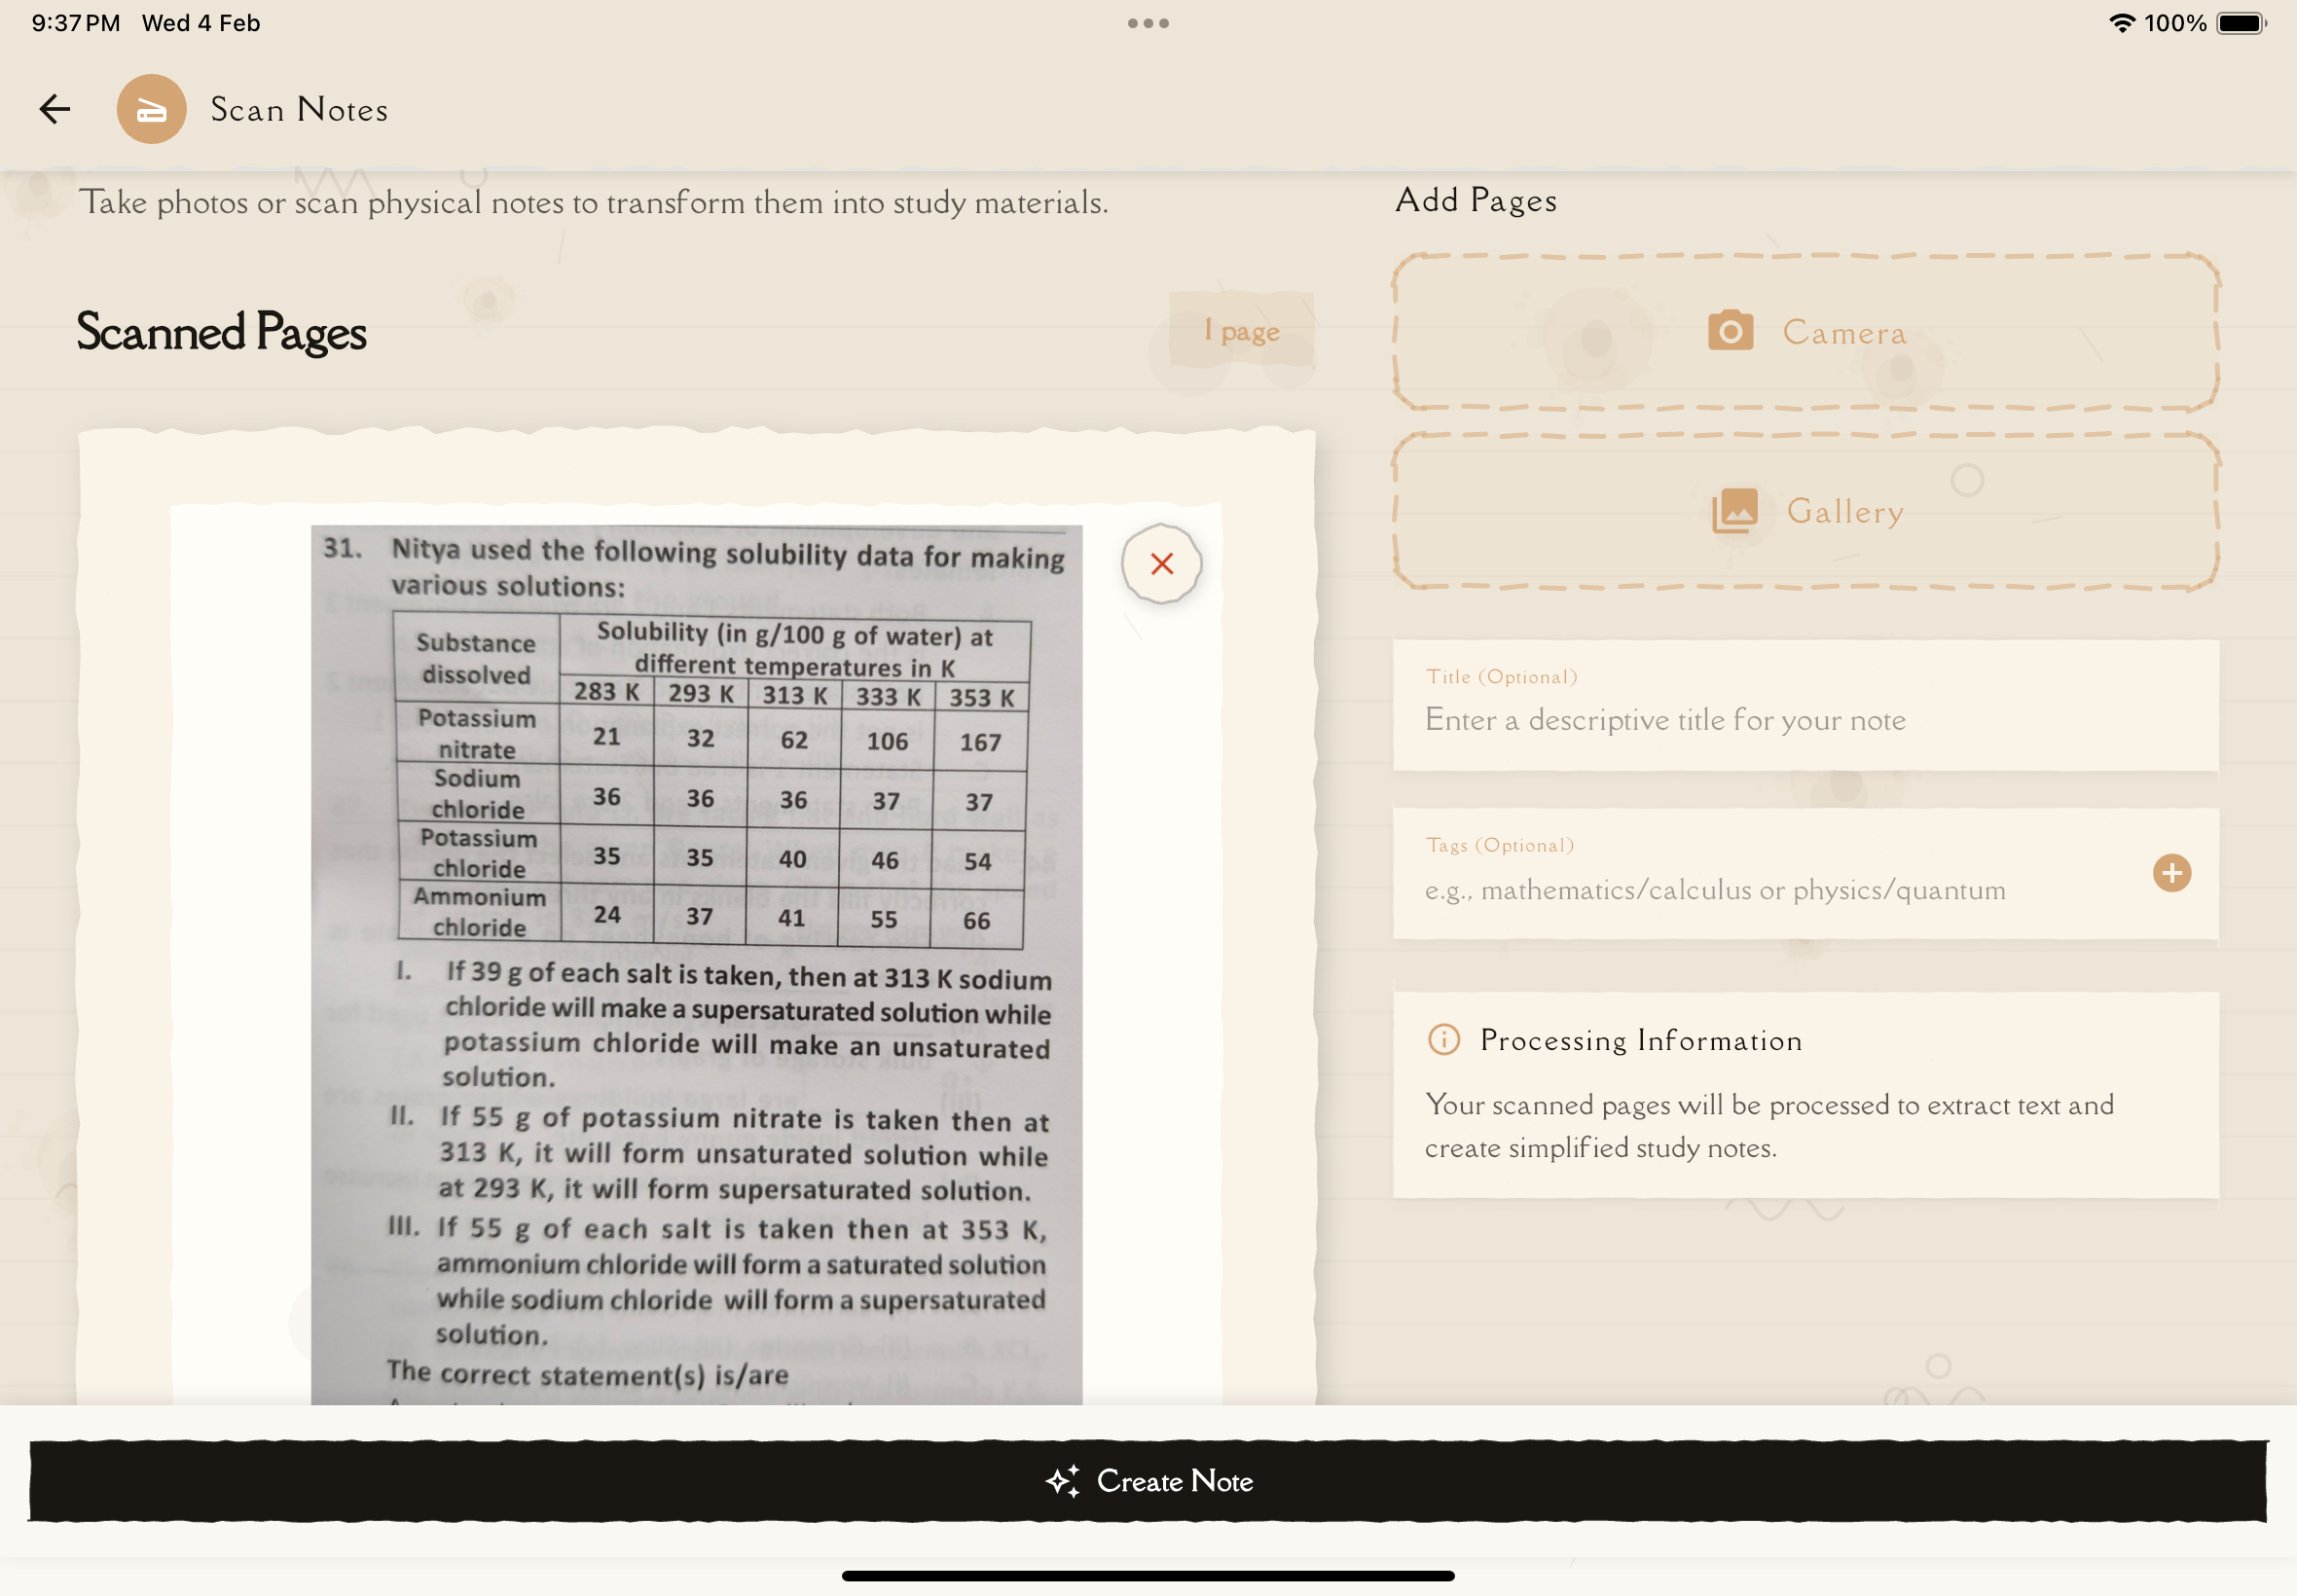
From the Notes tab, tap the New Note button.
Tap Scan from the creation options (represented by a camera icon).
Scan is available on mobile devices only (iOS and Android). It is not available on the web version.
If prompted, allow Notesmakr to access your camera.
You have two options:
Take a photo: Tap the Camera button to photograph your document directly.
Choose from gallery: Tap the Gallery button to select existing photos from your device. You can select multiple images at once.
When using the camera, place the document flat on a surface with good lighting.
Setup tips:
- Even, bright lighting (natural light is best)
- No shadows falling on the page
- Flat surface (not curved or bent)
- Contrasting background (white paper on dark table, or vice versa)
- Keep camera parallel to page (avoid angles)
- Ensure all text is visible and in focus
After capturing or selecting your photo, you can crop the image to focus on the relevant content:
- Remove unwanted areas around the document
- Focus on the specific text you want to extract
- Adjust the crop region as needed
If the photo isn't clear enough, retake it.
If you have multiple pages:
- Tap Add Another Page
- Capture additional pages the same way
- All pages combine into one note
Give your note a descriptive title (or use auto-generated one).
Add relevant tags for organization.
Tap Create Note. AI performs:
- OCR text extraction
- Layout analysis
- Content organization
- Study material structuring
Typical processing time:
- 1-3 pages: 30-90 seconds
- 4-10 pages: 1-3 minutes
Once complete, open your note to find:
- Extracted and organized text
- Summary and key concepts
- Content ready for flashcard, quiz, and mind map generation
- Original scanned images (for reference)
OCR Technology
Notesmakr uses OCR to extract text from images:
What Works Well
- Printed text: Books, handouts, typed materials
- Clear handwriting: Neat print or cursive
- Standard fonts: Common typefaces
- High contrast: Black text on white background
- Good lighting: Even, bright illumination
- Flat documents: No curves or wrinkles
What's Challenging
- Messy handwriting: Very sloppy or stylized script
- Low contrast: Faded text, poor copies
- Complex layouts: Multi-column, unusual formatting
- Handwritten equations: Mathematical notation in cursive
- Decorative fonts: Highly stylized typefaces
- Poor lighting: Shadows, glare, darkness
What Doesn't Work
- Extremely small text: Below readable size
- Blurry images: Out of focus or motion blur
- Severe shadows: Text obscured by darkness
- Reflective surfaces: Glare from laminated pages
- Non-text content: Pure diagrams without labels
Image Quality Tips
Better photos = better OCR = better notes!
Lighting
- Natural light: Best option (indirect sunlight)
- Even illumination: No harsh shadows
- Avoid glare: Don't use flash on glossy pages
- Desk lamp: Position to side to minimize shadows
Camera Position
- Parallel to page: Not at an angle
- Steady hands: Hold still or use a stand
- Proper distance: Fill frame with document (not too close, not too far)
- Focus: Ensure text is sharp and clear
Document Preparation
- Flatten pages: No curves or wrinkles
- Contrasting background: White paper on dark surface (or vice versa)
- Remove obstructions: No fingers, pens, or shadows on text
- Clean pages: Erase stray marks that might confuse OCR
Pro tip: For important documents, take multiple captures from different angles or lighting. You can then choose the best one.
Troubleshooting
"No text detected"
Possible causes:
- Image is too blurry
- Lighting is too poor
- Text is too small
- Document is blank or has only images
Solutions:
- Retake with better lighting
- Move camera closer (but keep in focus)
- Ensure text is actually present
- Clean camera lens
OCR accuracy is poor
Possible causes:
- Handwriting is messy
- Poor lighting or focus
- Low contrast
- Complex layout (multiple columns, rotated text)
Solutions:
- Retake with better lighting and focus
- Manually edit extracted text to fix errors
- For very poor OCR, consider typing manually instead
Distorted or skewed image
Possible causes:
- Camera wasn't parallel to document
- Document was curved or bent
Solutions:
- Use the crop tool to adjust
- Retake holding camera parallel to page
- Flatten document before scanning
Always review scanned notes for OCR errors, especially:
- Numbers (easily confused: 1 vs l, 0 vs O)
- Special characters (mathematical symbols)
- Names and proper nouns
- Formulas and equations
Tips for Best Results
Pro tips for creating great scan notes:
- Good lighting is key: Natural, even light beats artificial every time
- Hold steady: Use a surface or tripod to minimize shake
- Parallel position: Keep camera flat above document, not at an angle
- Fill the frame: Document should occupy most of the viewfinder
- Check before continuing: Review each capture for clarity
- Multiple pages: Scan in batches for faster workflow
- Review and edit: Always skim for OCR errors after creation
- Clean lens: Dirty camera lens causes blurry images
- Flat documents: Flatten pages with a book or glass if needed
What's Next?
Your scan note is ready — time to study!
Or create notes from other sources: