Annotations in Reading Tab
View, organize, and navigate all your annotations, insights, and explanations directly in the Reading tab
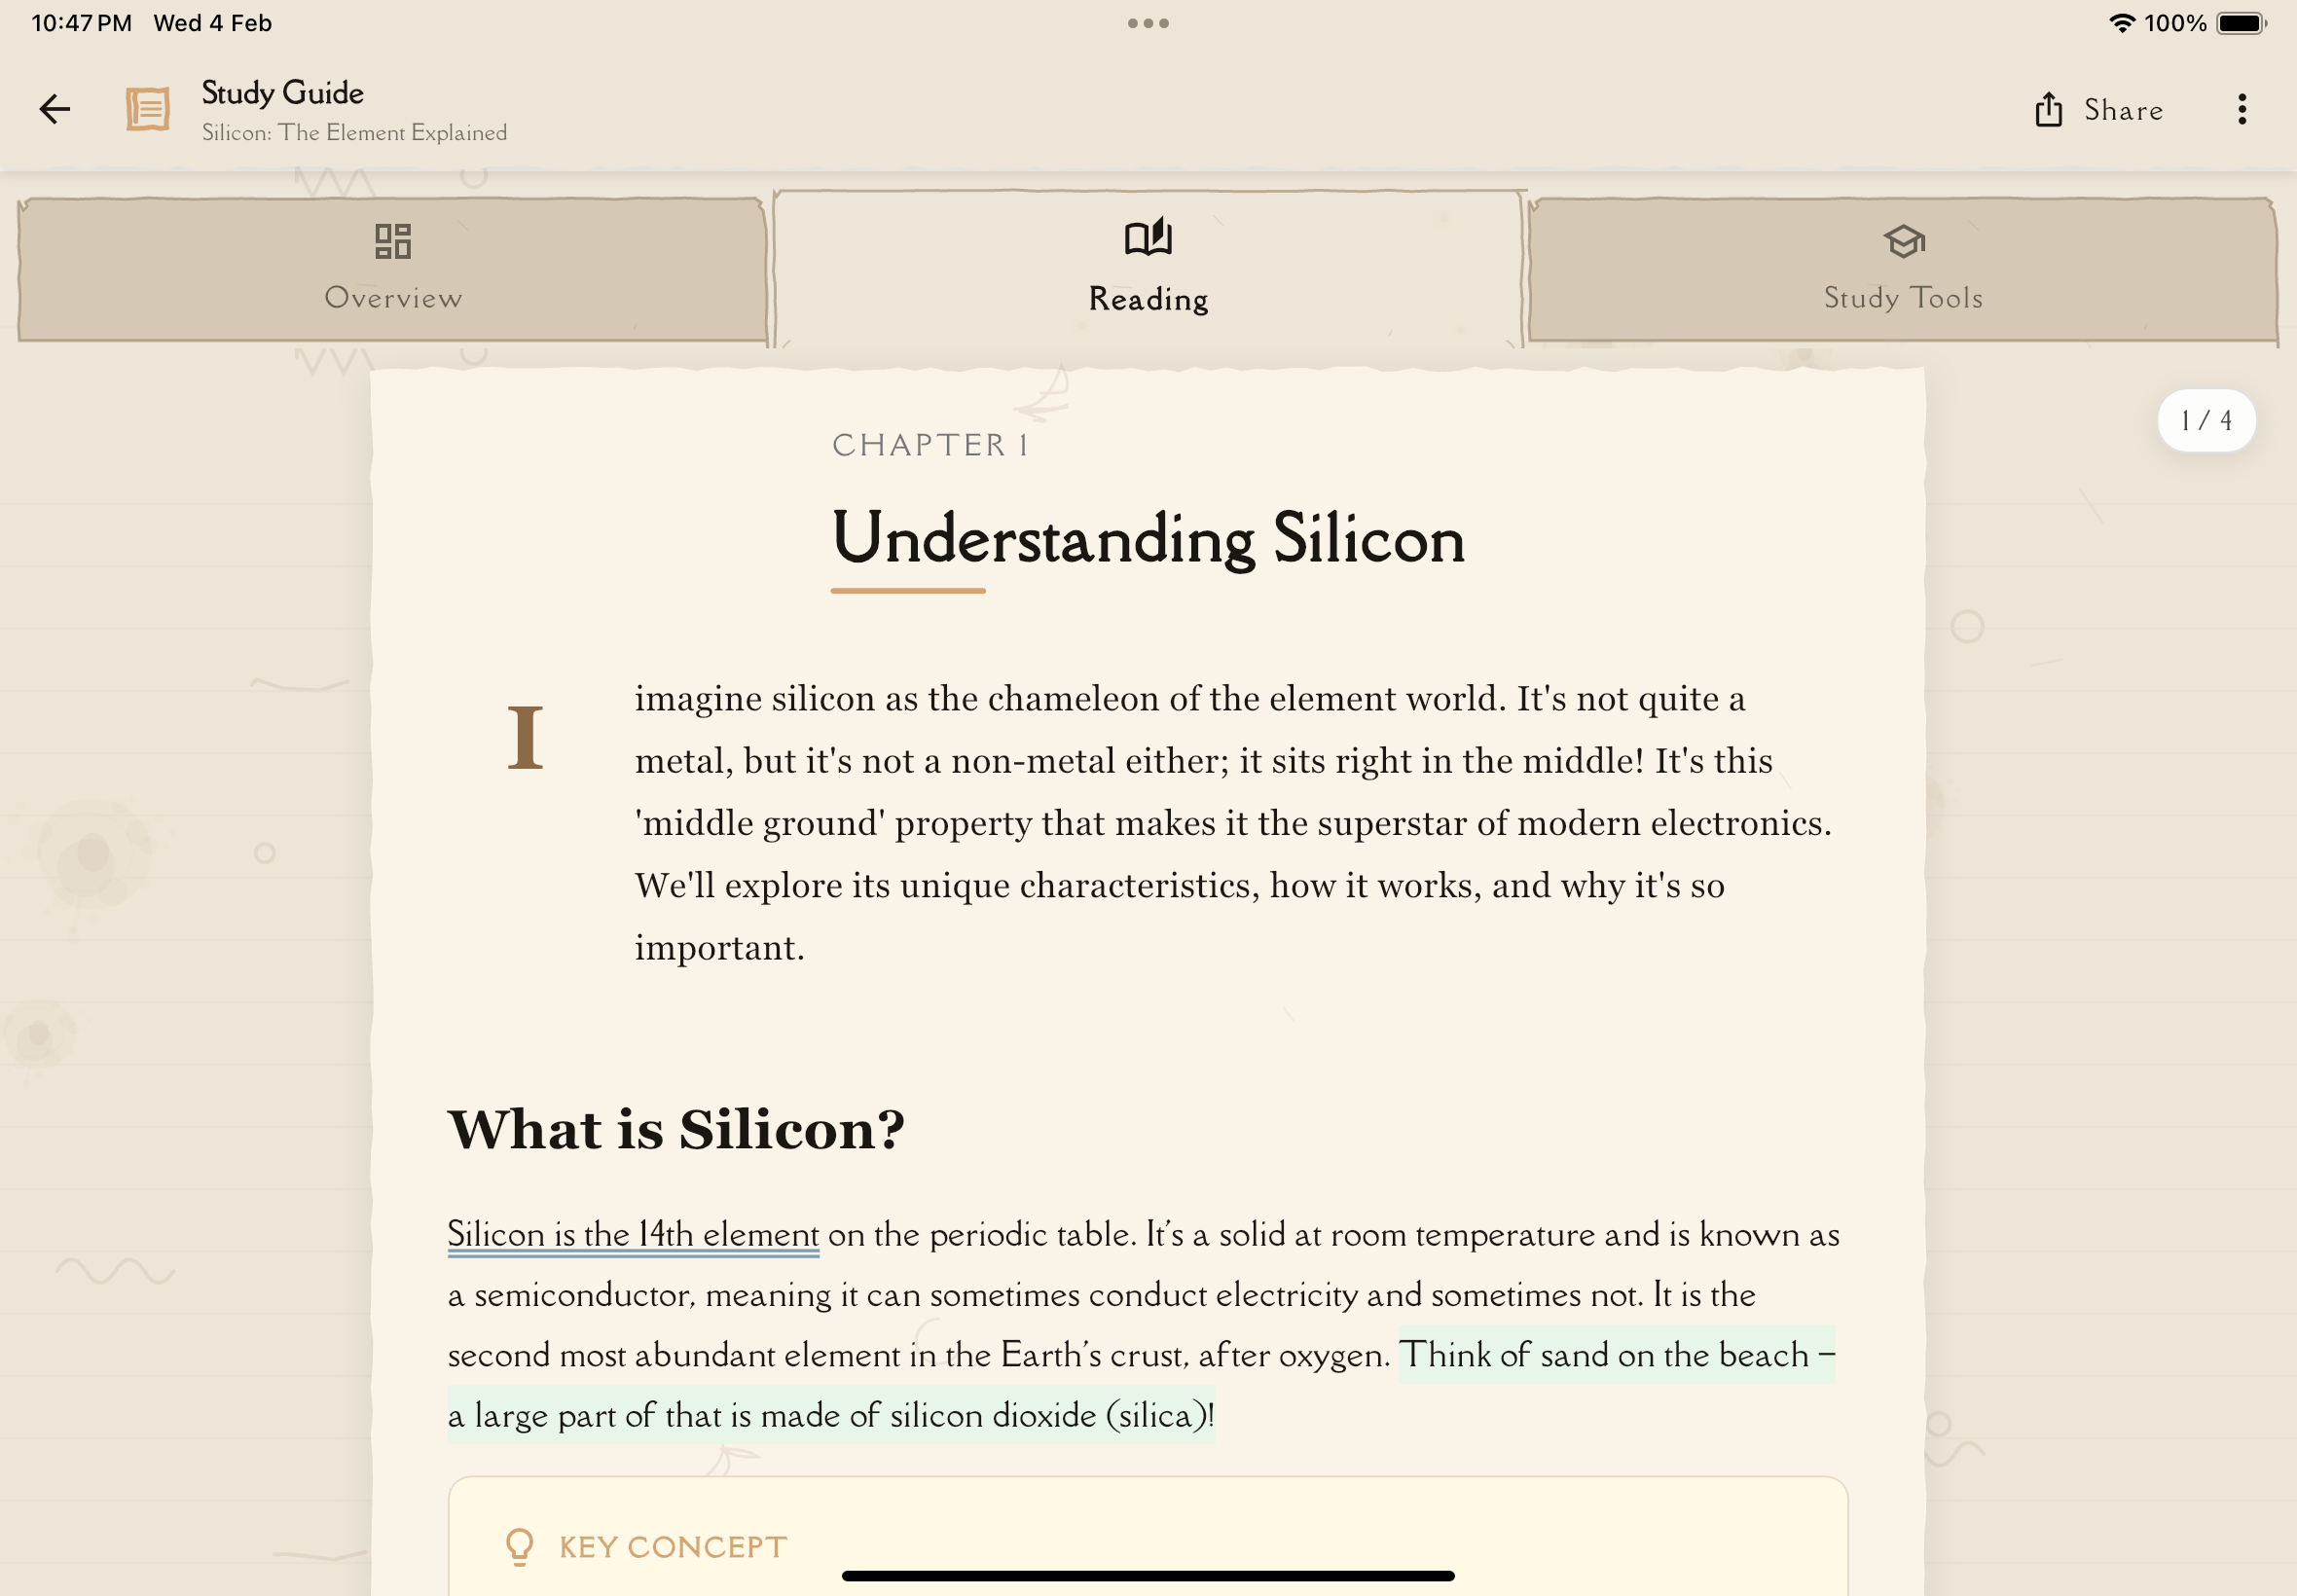
Annotations appear directly in the Reading tab of your study guide, allowing you to see your insights, explanations, and thoughts right alongside the content they reference. This contextual approach helps you understand concepts better by linking your annotations to specific passages.
Accessing Your Annotations
To view and manage annotations:
Navigate to the study note you want to view.
Tap the "Reading" tab to view your study content with all annotations.
Scroll through the content to see all typed, handwritten, and voice annotations inline with the text they reference.
What You'll See
Each annotation displays:
Annotation Type Indicator
A visual icon or label showing whether it's:
- Typed annotation — Text document icon
- Handwritten annotation — Pencil or drawing icon
- Voice annotation — Microphone or audio icon
Annotation Preview
A snippet of the content:
- Typed annotations — The first 60 characters of text
- Handwritten annotations — A canvas preview showing your drawing
- Voice annotations — Duration (e.g., "2:34") with a play button
Quick Actions
Tap the annotation to open it in full view, or use the menu (⋮) to:
- Delete — Remove the annotation permanently
Creating New Annotations
From the Reading tab, you can create new annotations in any format:
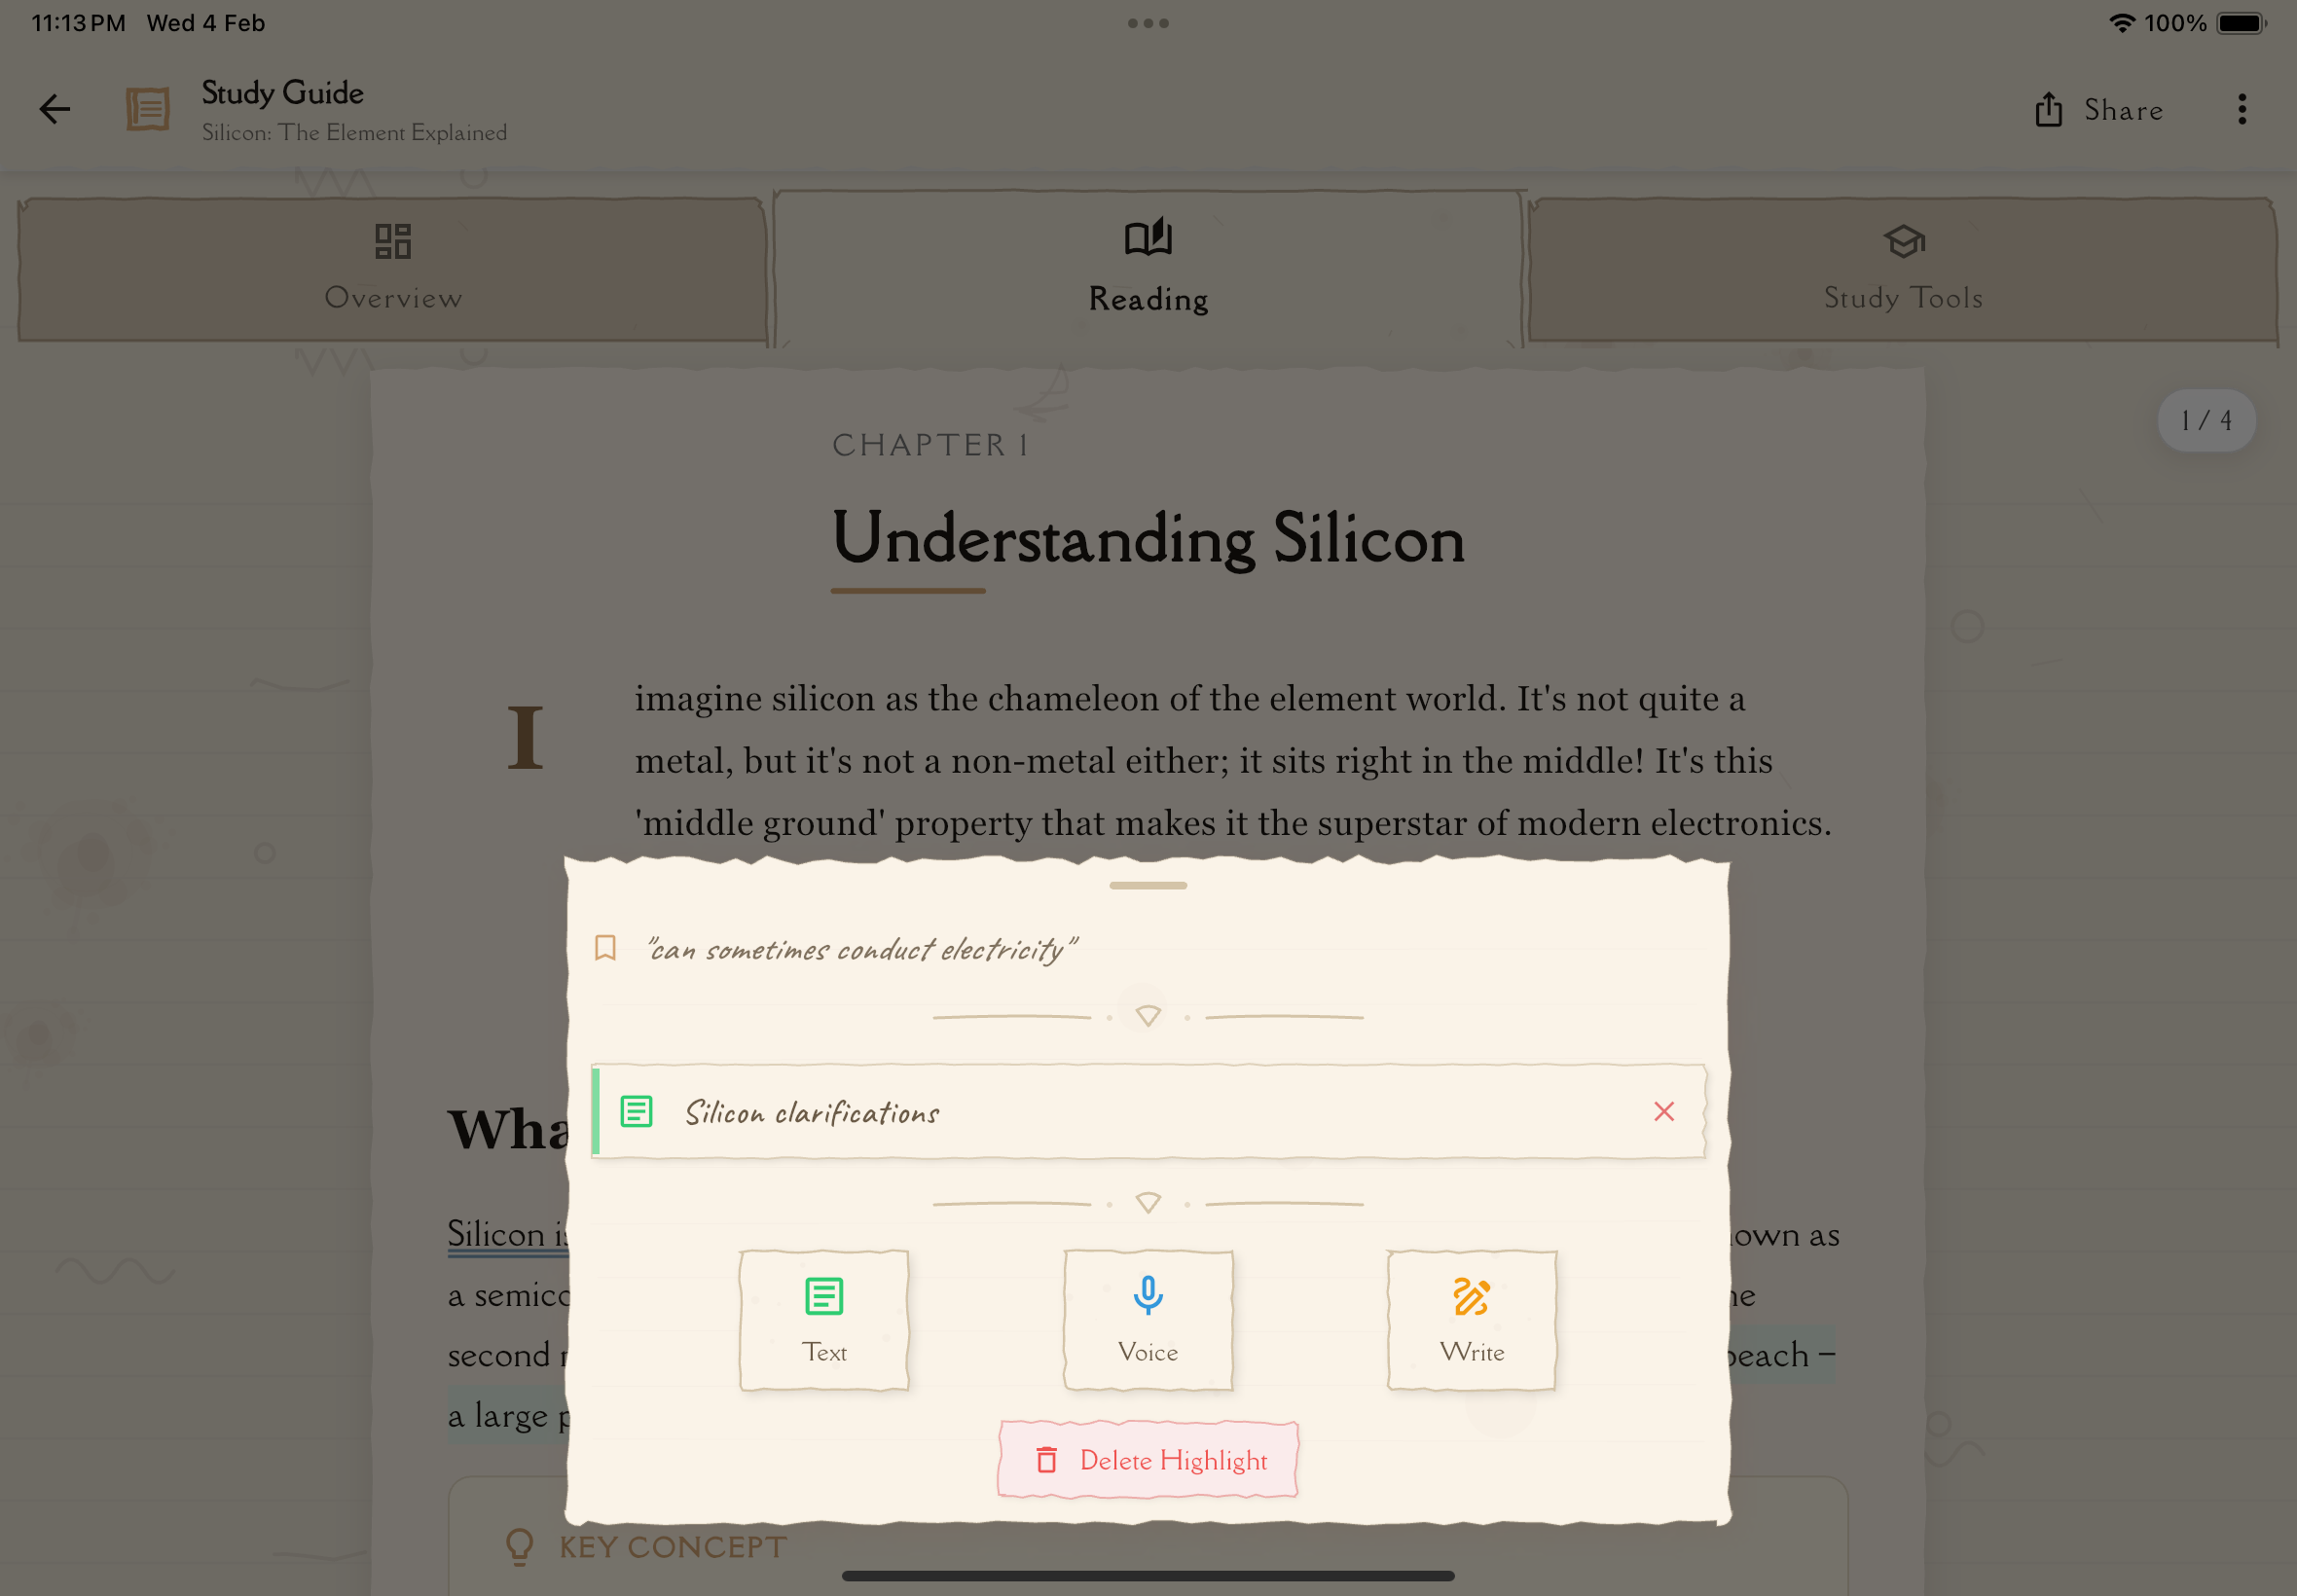
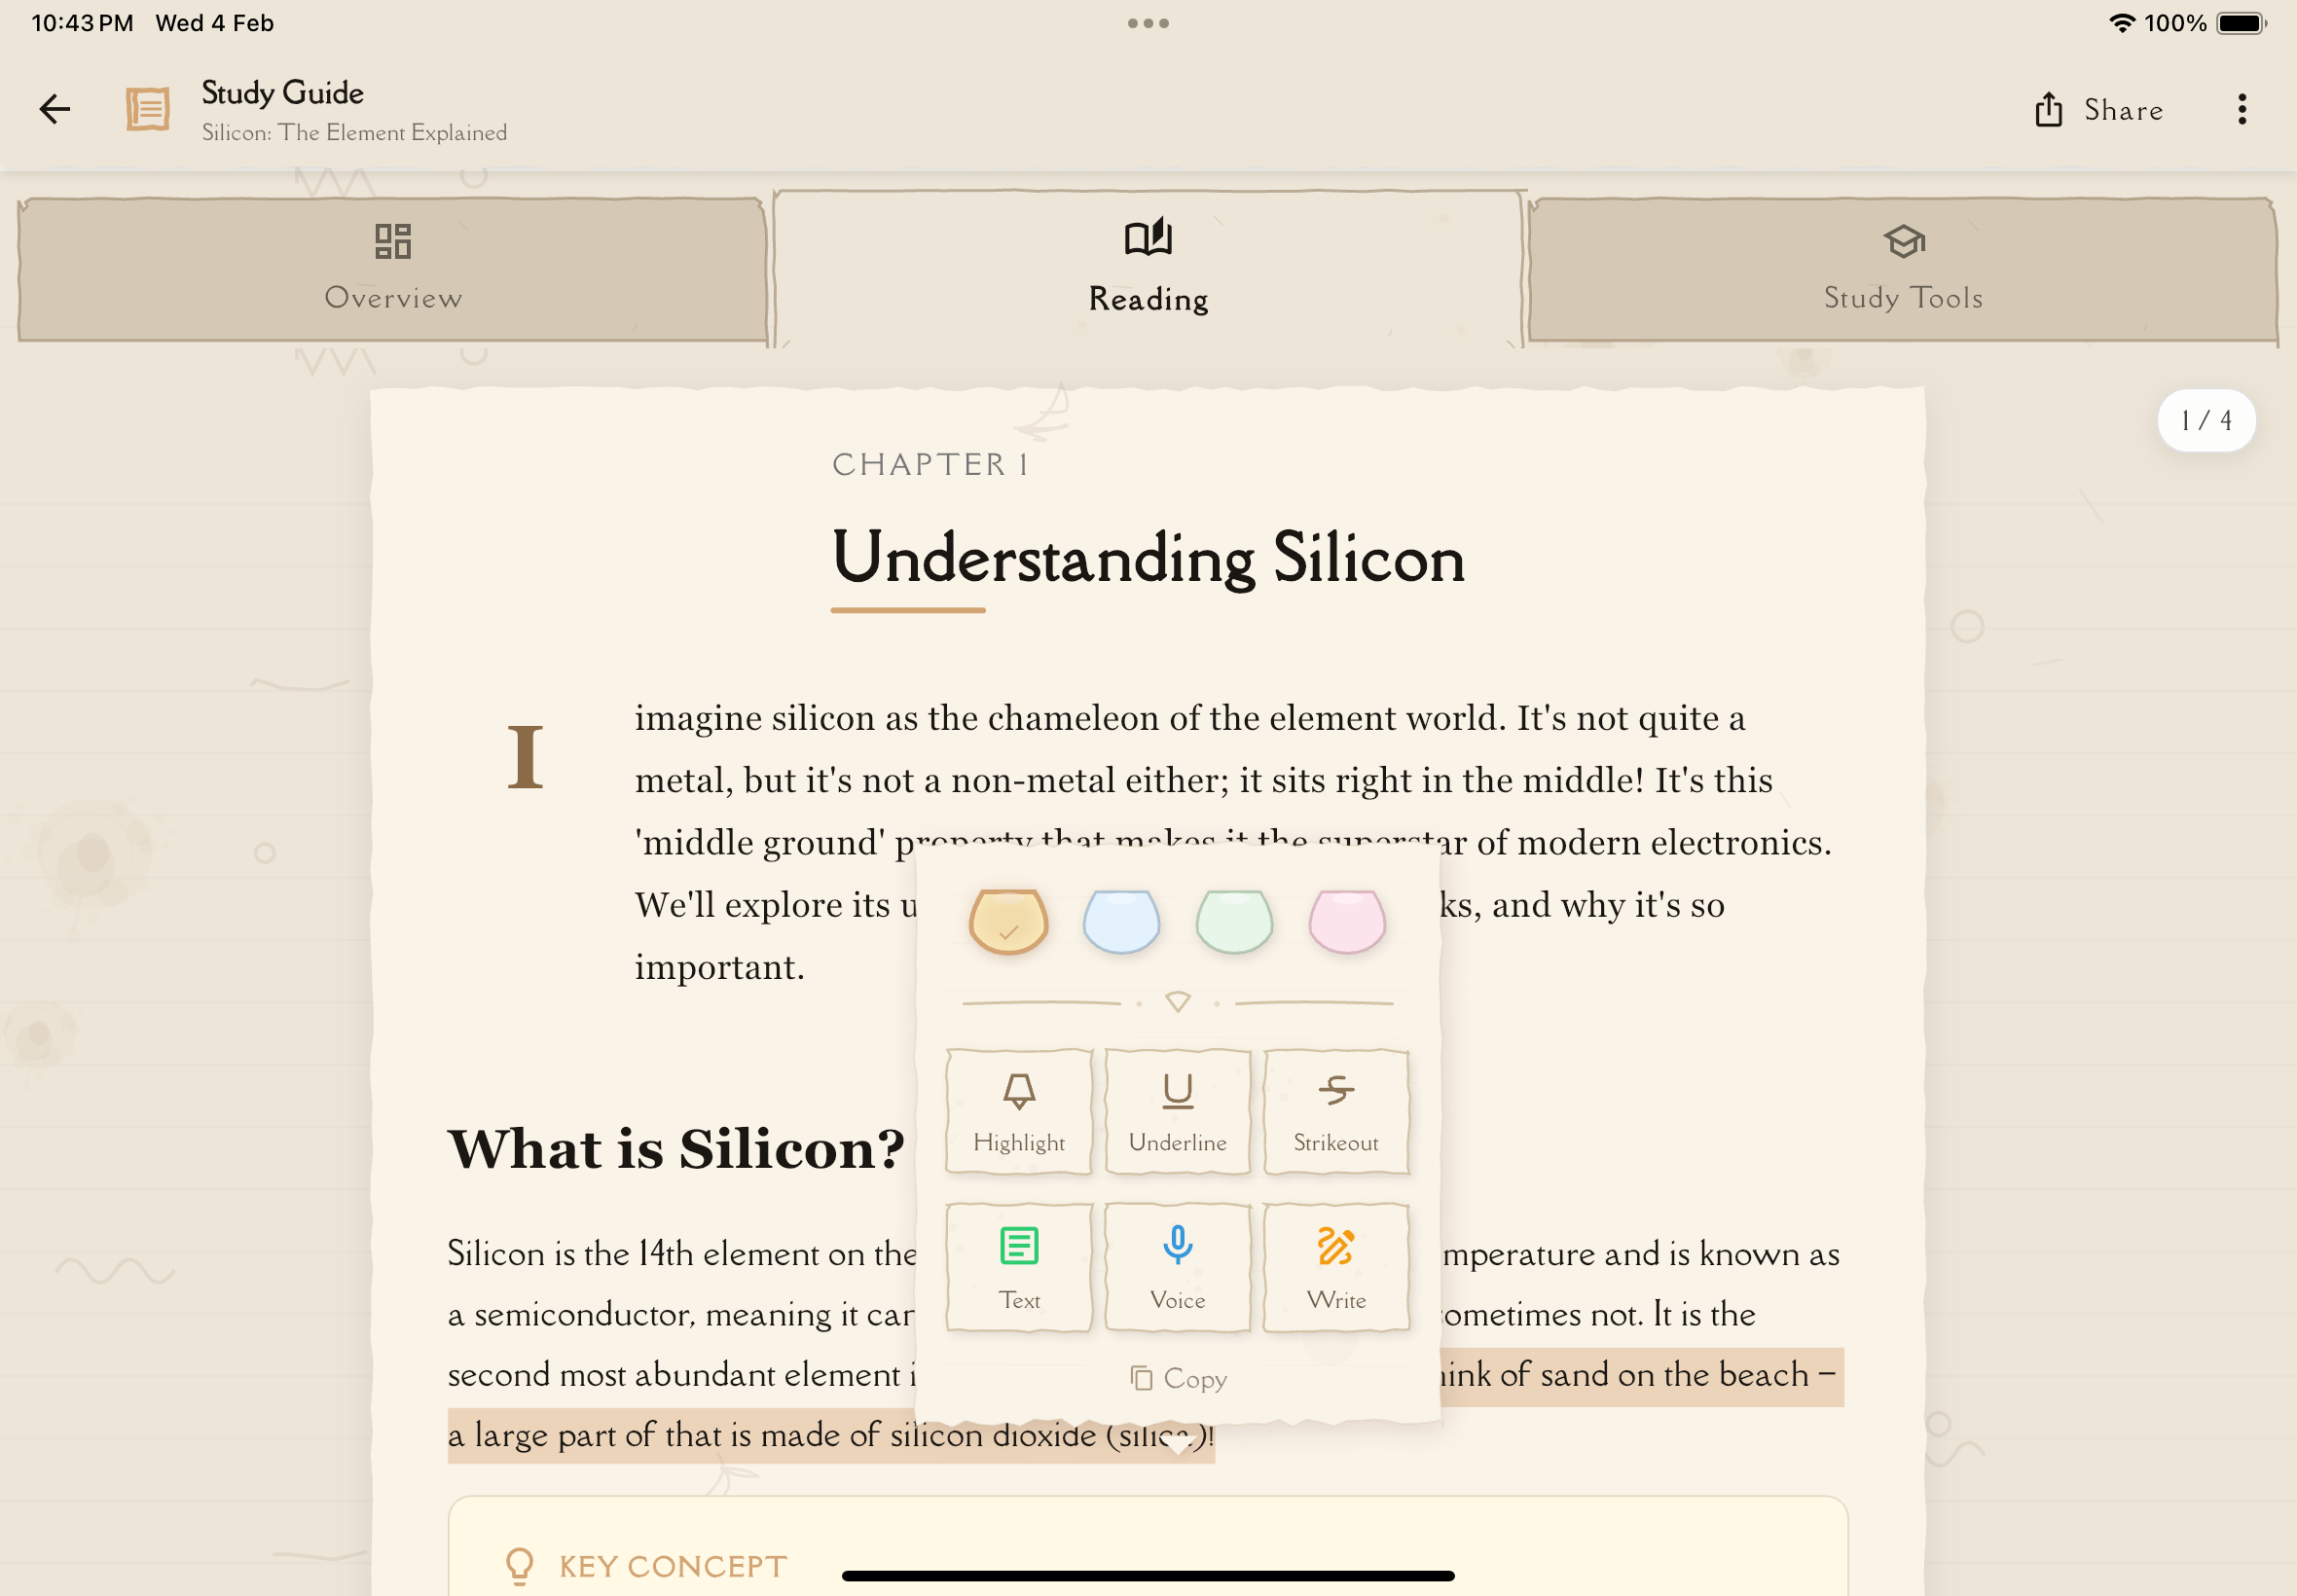
Long-press on the text you want to annotate. This will select the text and open a context menu.
The context menu displays formatting options (highlight, underline, strike) and annotation options. Select the annotation type you want to create:
- Typed Note — Opens the rich text editor
- Handwritten Note — Opens the drawing canvas
- Voice Note — Starts audio recording
Use the appropriate editor to create your annotation (detailed in subsequent guides).
Tap "Save" or "Done" when finished. Your annotation appears inline with the content immediately.
Viewing Annotations
Annotations appear inline with the study content in the Reading tab. As you scroll through your study material, you'll see your annotations displayed right next to the text passages they reference.
To view all annotations for a study note:
- Tap the annotation icon in the Reading tab toolbar
- A sheet appears showing all your annotations
- Tap any annotation to view it in full or to delete it
iPad Landscape Split View
When using Notesmakr on an iPad in landscape orientation, you can activate a special split-screen view that displays all your annotations alongside your study content:
Rotate your iPad to landscape orientation while viewing the Reading tab of a study note.
Tap the annotations icon in the top toolbar. This will split the screen into two panels:
- Left panel — Your study content (Reading tab)
- Right panel — All your annotations in a beautiful notebook-style list
Scroll through your study content on the left while seeing all your annotations listed on the right. This makes it easy to cross-reference your insights with the original material.
Tap any annotation in the right panel to open it in full view for editing or detailed viewing.
Tap the annotations icon again to return to single-panel view.
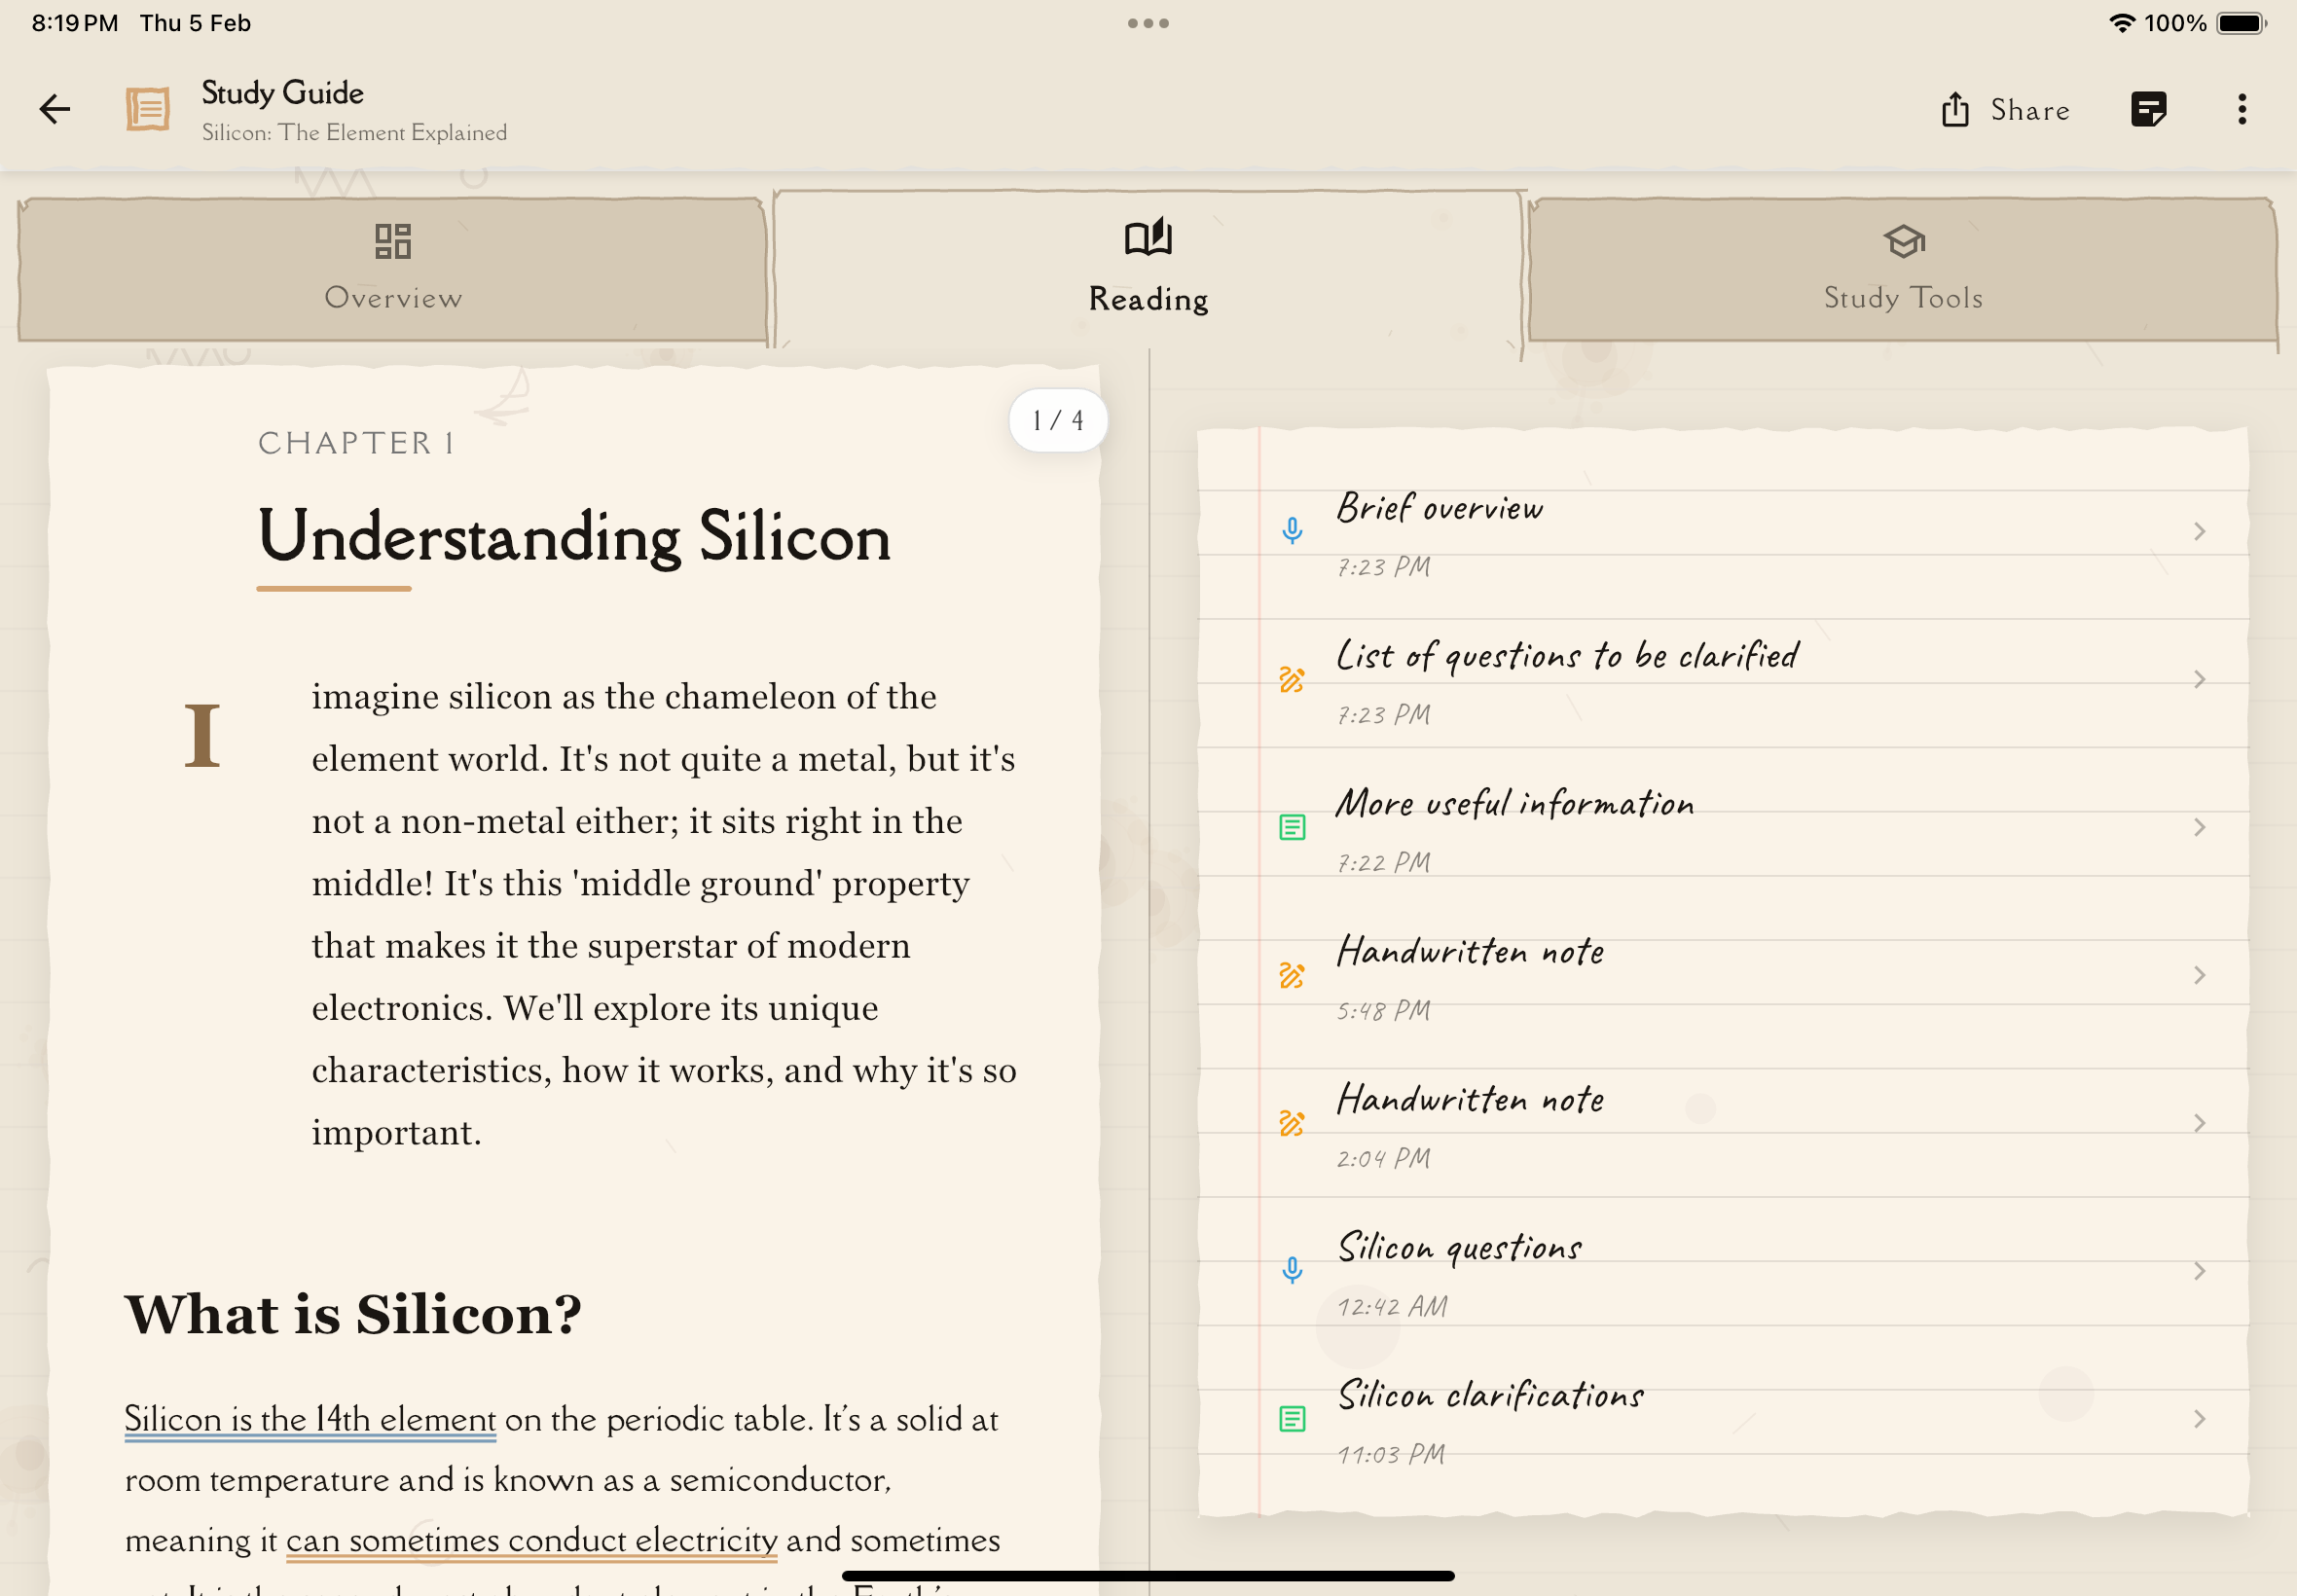
The annotations panel displays all your annotations in chronological order with:
- Beautiful notebook styling — Lined paper background with red margin, matching the typed note editor aesthetic
- Type indicators — Icons showing whether each annotation is typed, handwritten, or voice
- Preview text — Quick glimpse of the content
- Timestamps — When each annotation was created
The split view is perfect for study sessions where you want to review both your simplified study content and your detailed personal explanations side by side. It's especially useful for exam preparation!
Viewing Annotation Details
To view an annotation in full:
In the Reading tab, tap on any annotation card to open it.
The annotation opens in its respective viewer:
- Typed annotations — Opens in the text viewer
- Handwritten annotations — Opens the canvas viewer
- Voice annotations — Plays the audio recording
Tap the back button or swipe down to return to the Reading tab.
Deleting Annotations
To remove an annotation:
Locate the annotation you want to delete in the Reading tab.
Tap the menu icon (⋮) on the annotation, or swipe left on it (depending on your device).
Tap "Delete" from the menu.
Confirm you want to permanently delete the annotation.
Deleted annotations cannot be recovered. Make sure you really want to remove them before confirming!
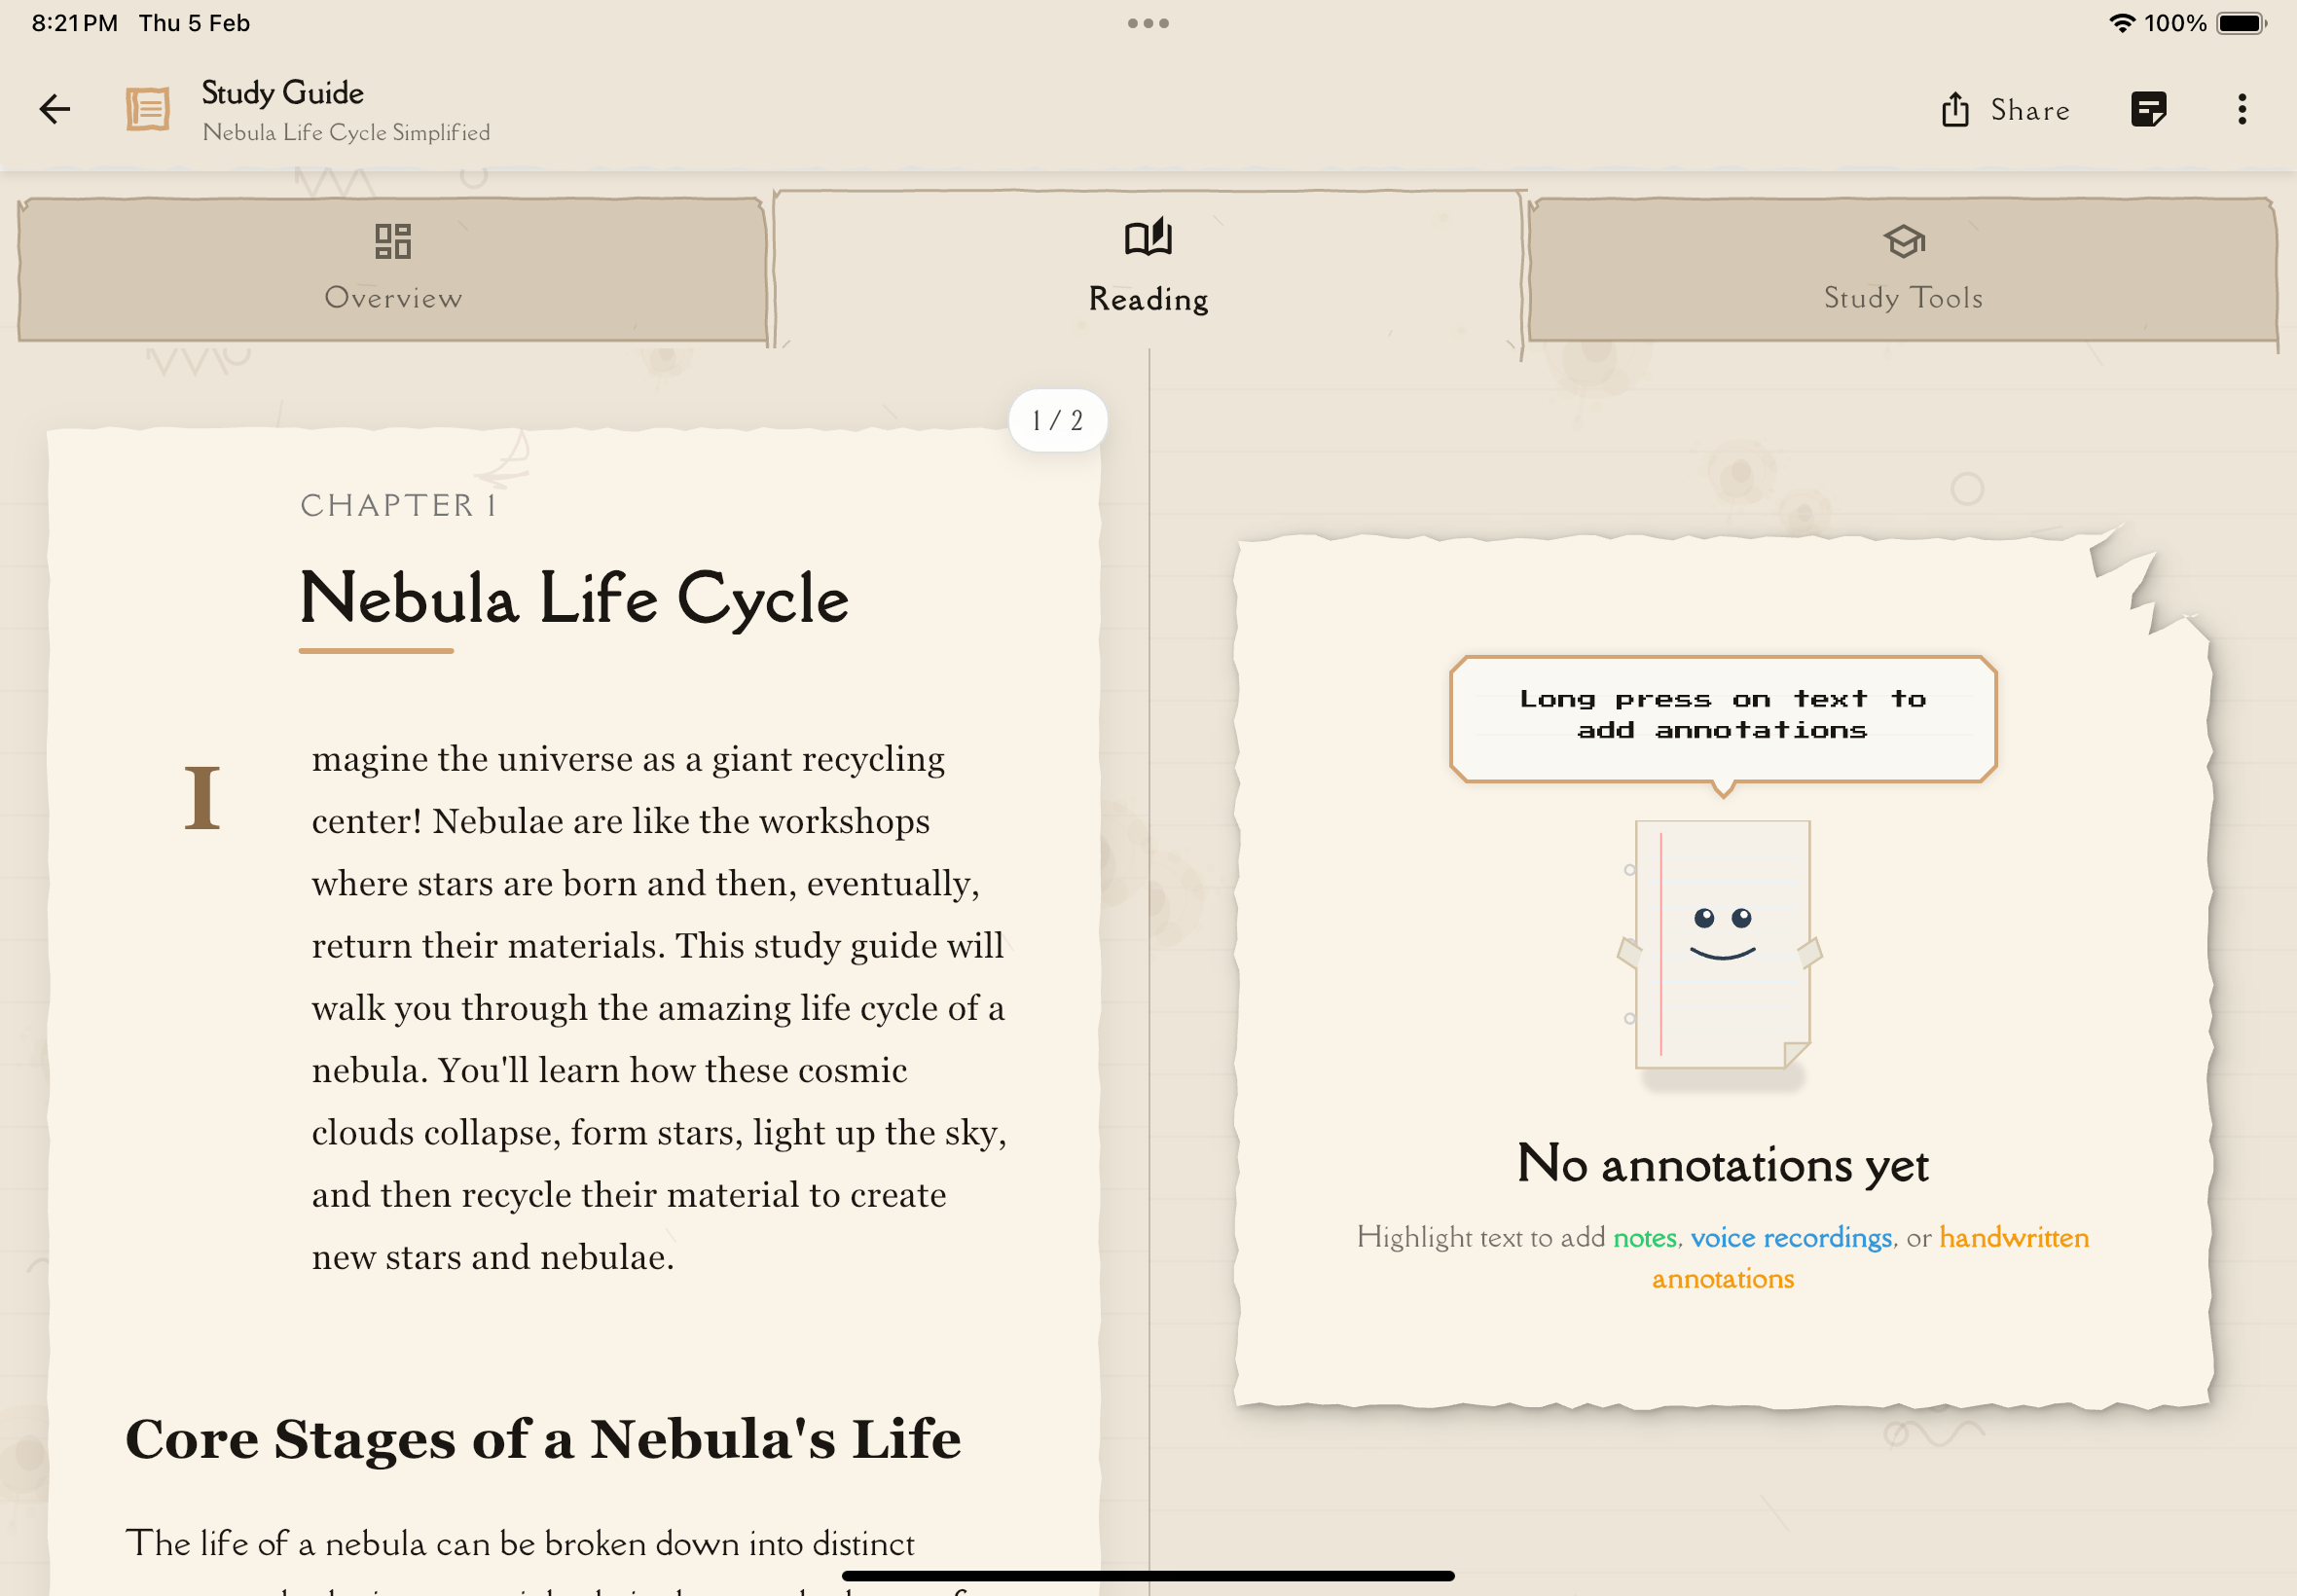
Empty State
If you haven't created any annotations for a study note yet, tapping the annotation icon in the Reading tab will show:
- "No annotations yet" — A simple message indicating you haven't added any annotations
- Add button — Tap to select text and create your first annotation using the context menu
Annotations vs Study Notes
It's important to understand the difference:
Study Notes
- The main simplified explanation of your source material
- Created using Notesmakr's guided process (Overview → Reading → Study Guide)
- AI-assisted organization and formatting
- The foundation for quizzes, flashcards, and mind maps
Annotations
- Your additional thoughts, insights, and explanations
- Completely freeform—no structure required
- Multiple formats (typed, handwritten, voice)
- Personal explanations using the Feynman Technique
- Not used for AI generation (flashcards, quizzes, etc.)
Think of study notes as your "textbook" and annotations as your "margin notes and journal."
Use study notes to organize and simplify information. Use annotations to truly make it your own through deeper explanation, visual thinking, and verbal practice.
Best Practices
Mix Annotation Types
Don't limit yourself to one format. Use:
- Typed annotations for detailed explanations
- Handwritten annotations for visual concepts
- Voice annotations for verbal practice
Review Regularly
Annotations capture your thinking at a specific moment in your learning journey. Reviewing old annotations often reveals how much your understanding has deepened!
Add Annotations While Learning
Don't wait until you "fully understand" to add annotations. Capture your thoughts, questions, and confusion as you learn—it's all part of the process.
Add More as You Learn
As your understanding deepens, add new annotations with clarifications and insights. Learning is iterative!
Use for Exam Prep
Right before a test, quickly scroll through the Reading tab to review your annotations. These are often the insights and "aha!" moments that stick with you during exams.
The goal isn't to create perfect annotations—it's to engage deeply with the material. Messy, experimental annotations that reflect genuine thinking are more valuable than pristine notes copied from a textbook!
Next Steps
Ready to create your first annotation? Learn how to use each annotation type:
- Typed Annotations — Write detailed explanations
- Handwritten Annotations — Draw diagrams and sketches
- Voice Annotations — Record audio explanations