Create from Audio
Transform audio recordings into comprehensive study notes with AI-powered transcription and analysis
Turn lectures, podcasts, audio books, and voice recordings into searchable, organized study notes. Notesmakr's AI transcribes your audio, analyzes the content, and creates comprehensive notes complete with key concepts and study materials.
When to Use Audio Notes
Audio notes are perfect for:
- Lecture recordings: Capture every word from in-person or online classes
- Podcast episodes: Transform educational podcasts into study materials
- Audio books: Create notes from chapters or full books
- Voice memos: Turn your own verbal explanations into structured notes
- Interviews: Extract key insights from expert interviews
- Conference presentations: Study talks and presentations you recorded
- Group discussions: Document study group conversations
- Language learning: Transcribe and study native speaker content
Audio quality matters! Record in quiet environments with the microphone close to the speaker for best transcription accuracy.
Two Ways to Create Audio Notes
Method 1: Record Live
Record audio directly in Notesmakr:
From the Notes tab, tap the New Note button.
Tap Audio from the creation options (represented by a microphone icon).
If prompted, allow Notesmakr to access your microphone. This is required for recording.
Place your device near the audio source (speaker, whiteboard, yourself) for clear recording.
Tips for better quality:
- Minimize background noise (close windows, turn off fans)
- Keep microphone 1-3 feet from speaker
- Avoid handling the device while recording (causes noise)
- Test with a short recording first
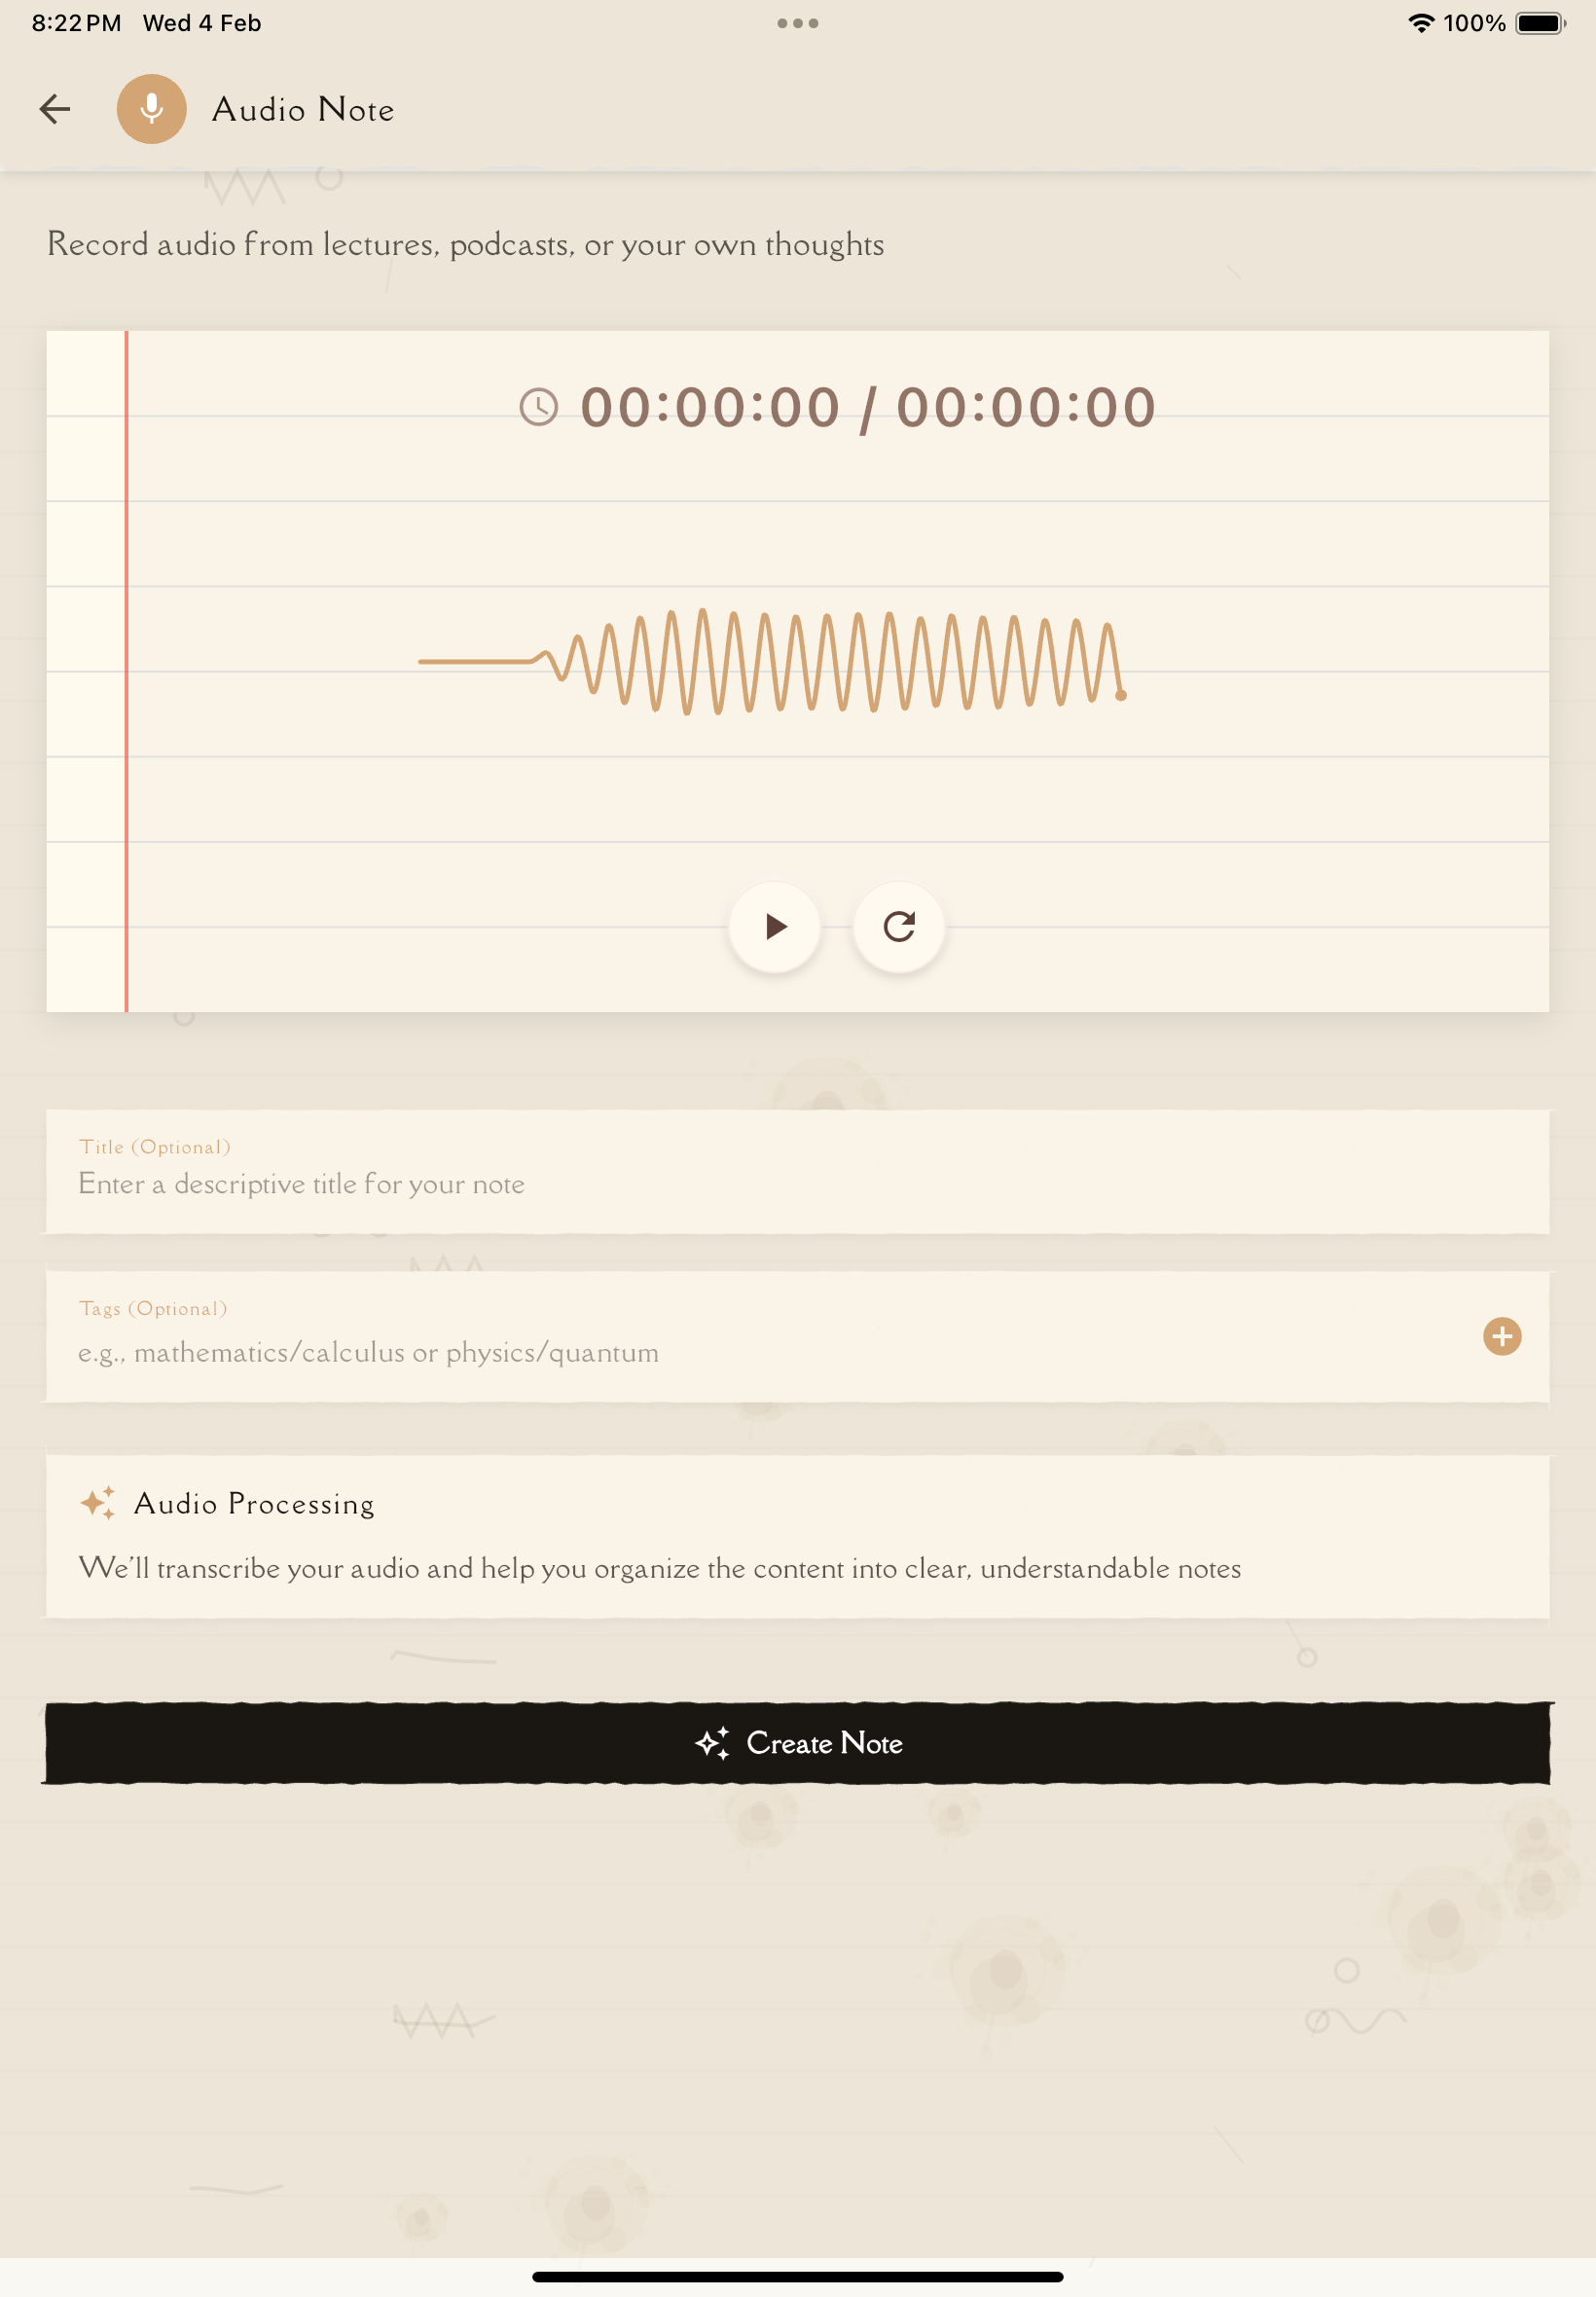
Tap the Record button. You'll see:
- Recording indicator
- Timer showing duration
- Audio waveform (visual feedback)
- Tap Pause to temporarily stop (e.g., during breaks)
- Tap Resume to continue
- The recording stays as one file
Tap Stop when the lecture, podcast, or recording is complete.
Listen to a preview to ensure quality:
- Tap Play to hear the recording with waveform visualization
- Check that speech is clear and audible
- If quality is poor, re-record
- If quality is good, proceed
Give your note a title, add tags, and tap Create Note to start AI processing.
Method 2: Upload Existing Audio
Upload an audio file you already have:
From the Notes tab, tap the New Note button.
Tap Audio from the creation options.
Tap the Upload File button.
A file picker appears. Navigate to your audio file and select it.
Sources you can choose from:
- Files app (iOS) or File Manager (Android)
- Voice Memos app
- Downloads folder
- Cloud storage (iCloud Drive, Google Drive, Dropbox)
- Messaging apps (if audio was shared with you)
Give your note a descriptive title (or use auto-generated one from filename).
Add relevant tags for organization.
Tap Create Note. AI transcribes and processes your audio.
Processing happens on the server. You'll be notified when your note is ready.
Typical processing times:
- Short audio (5-10 min): 1-3 minutes
- Medium audio (10-30 min): 3-6 minutes
- Long audio (30-60 min): 6-12 minutes
Open the completed note to find:
- Summary and key concepts
- Organized sections
- Content ready for flashcard and quiz generation
What AI Extracts from Audio
Notesmakr's AI comprehensively analyzes audio content:
Transcription
- Complete transcript: Every word spoken
- Punctuation and formatting: Proper sentences and paragraphs
Content Analysis
- Key concepts: Main ideas and important points
- Definitions: Terms explained by the speaker
- Examples: Real-world applications and case studies mentioned
- Summaries: Section summaries
Transcription accuracy depends on audio quality, speaker clarity, and background noise. Always review transcripts for errors, especially for technical terms or names.
Supported Audio Formats
Fully Supported
- MP3: Most common format
- M4A/AAC: iOS Voice Memos, iPhone recordings
- WAV: Uncompressed, highest quality
- OGG: Open-source format
- WEBM: Web-based audio
Not Supported
- Proprietary formats: Encrypted or DRM-protected
- Video files: Extract audio first (use tools like VLC)
Audio Quality Tips
Better audio = better transcription = better notes!
Recording Settings
- Bitrate: 128 kbps minimum, 256 kbps ideal
- Sample rate: 44.1 kHz or 48 kHz
- Mono vs Stereo: Mono is fine for speech (smaller file size)
- Format: MP3 or M4A for good balance of quality and size
Recording Environment
- Quiet location: Minimize background noise (traffic, fans, conversations)
- Close microphone: 1-3 feet from speaker
- Avoid echo: Record in carpeted rooms or add soft furnishings
- Test first: Do a 30-second test recording before the full lecture
Device Positioning
- Stable placement: Don't move device during recording
- Microphone direction: Point toward speaker
- Avoid obstructions: Don't cover microphone with hands or case
- External microphone: Use a lapel or external mic for best results
Pro tip: For important lectures, use a dedicated audio recorder or external microphone. Phone microphones work but specialized equipment captures clearer audio with less noise.
Troubleshooting
"Transcription failed" or "No speech detected"
Possible causes:
- Audio is silent or music-only
- Volume too low
- File is corrupted
- Format not supported
Solutions:
- Play the audio file to verify it has spoken content
- Increase volume/normalize audio using audio editing software
- Re-export in a supported format (MP3 or M4A)
- Check file isn't corrupted (plays normally in audio player)
Inaccurate or garbled transcription
Possible causes:
- Poor audio quality (background noise, echo, low volume)
- Heavy accent or unclear speech
- Multiple speakers talking over each other
- Technical jargon or uncommon terminology
Solutions:
- Re-record in better conditions if possible
- Manually edit the note after creation
- Verify correct language is set on your device
- Use noise reduction software before uploading
"File too large"
Solutions:
- Compress audio using online tools or audio software
- Lower bitrate (e.g., from 320 kbps to 128 kbps)
- Convert to MP3 format (smaller than WAV)
- Split into multiple shorter files
Always review AI-generated transcripts for accuracy, especially for:
- Names of people, places, companies
- Technical terminology
- Numbers, dates, statistics
- Quotes that need to be exact
Tips for Best Results
Pro tips for creating great audio notes:
- Test your setup: Do a 30-second test before important recordings
- Quiet environment: Record in locations with minimal background noise
- Close microphone: Keep 1-3 feet from speaker
- Clear speech: Ask speakers to articulate clearly (if you can)
- Descriptive titles: Name notes clearly (e.g., "Bio 101 Lecture 5 - Cell Division")
- Tag immediately: Add subject and topic tags right after creation
- Review transcripts: Always check for errors, especially technical terms
- Add context: Edit notes to add visual information that was shown but not described
- Split long recordings: One topic = one note works better
- External mics recommended: For regular recording, invest in a good microphone
What's Next?
Your audio note is ready—time to study!
Or create notes from other sources: