Sign In with SSO
Sign in to Notesmakr quickly and securely using Google or Apple accounts
Sign In with SSO
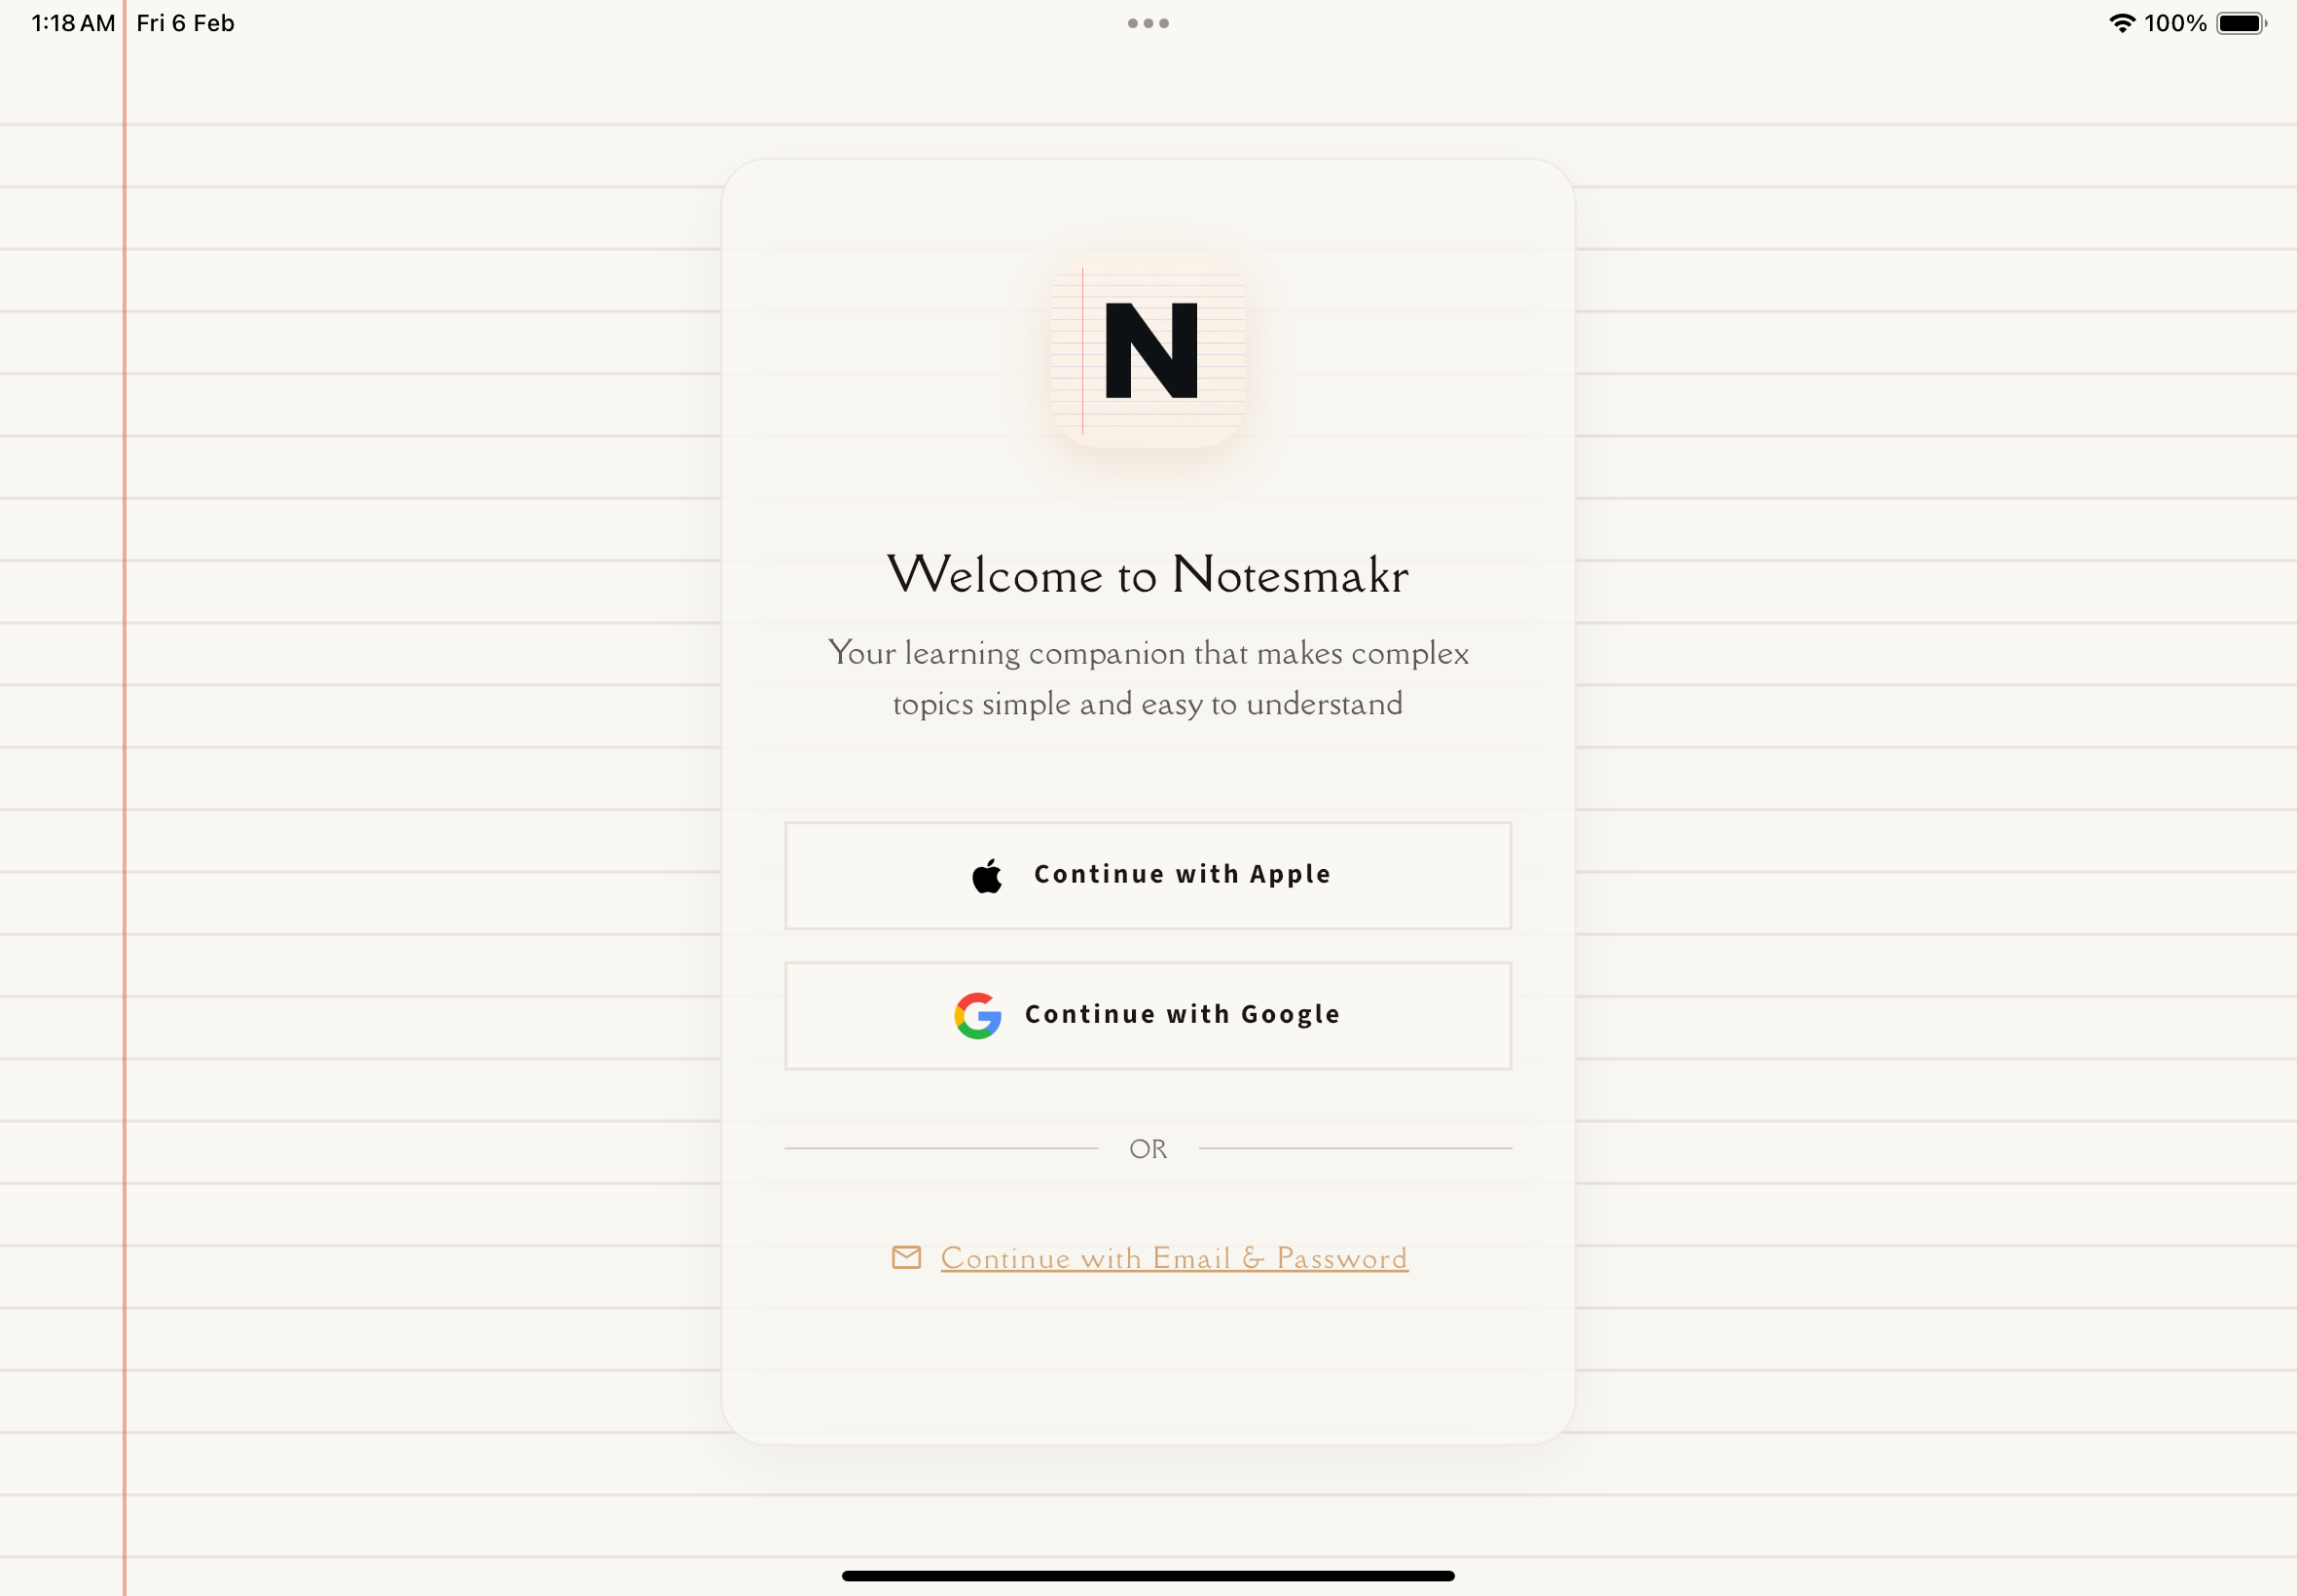
When you first open Notesmakr, you'll see a clean sign-in screen that lets you get started in seconds using Single Sign-On (SSO) with your existing Google or Apple account.
Why Use SSO?
Single Sign-On makes accessing Notesmakr fast and secure:
- No passwords to remember: Use accounts you already have
- Quick access: Sign in with just a few taps
- Secure: Your credentials are handled by Google or Apple, not stored by us
- Cross-device sync: Your notes and progress sync across all your devices
Choosing Your Language
Before signing in, you can select your preferred language from the dropdown at the top of the screen. Notesmakr supports 13+ languages, including:
- English
- Spanish (Español)
- French (Français)
- German (Deutsch)
- Italian (Italiano)
- Portuguese (Português)
- Russian (Русский)
- Japanese (日本語)
- Korean (한국어)
- Chinese Simplified (简体中文)
- Chinese Traditional (繁體中文)
- Tamil (தமிழ்)
- Hindi (हिन्दी)
- Hebrew (עברית) - Full RTL support
You can change your language preference later in the Settings tab if needed. Don't see your language? Reach out to [email protected] to request it!
Sign In with Google
Look for the white button with the Google logo. Tap it to begin the sign-in process.
A Google sign-in window will appear. Select the Google account you want to use with Notesmakr.
Google will ask you to confirm that Notesmakr can access your basic profile information (name and email). This helps personalize your experience.
Once authenticated, you'll be taken to the main Notes tab where you can create your first note!
Sign In with Apple
Look for the black button with the Apple logo. Tap it to begin.
Your device will prompt you to authenticate using Face ID, Touch ID, or your device passcode.
Apple gives you the option to share your real email or use Apple's private relay email feature. Either option works with Notesmakr.
After authentication, you'll land on the Notes tab ready to create your first study note.
If this is your first time signing in, Notesmakr will create a new account for you automatically. There's no separate registration process—just sign in and go!
What Happens After Sign-In?
Once you're signed in:
- Your account is created (if it's your first time)
- You're taken to the Notes tab (the main home screen)
- You can immediately start creating notes
- Your preferences and study progress begin syncing across devices
Alternative Sign-In Methods
Prefer not to use Google or Apple? No problem!
- Email and Password: Sign in with email
Troubleshooting
Can't see the Google/Apple sign-in popup?
Make sure you're using the latest version of the app from the App Store or Google Play. Try restarting the app if the sign-in screen doesn't appear. If the issue persists, check that your device has a stable internet connection and that Google or Apple services are not blocked by any restrictions on your device.
Already have an account with a different method?
Each sign-in method creates a separate account. If you used email previously and now want to use Google, you'll need to sign in with your email first. We recommend sticking with one sign-in method for consistency.
Security note: Notesmakr never sees or stores your Google or Apple password. All authentication is handled securely by Google and Apple themselves.
Ready to learn? Choose your sign-in method and let's get started!