Snap & Solve
Take a photo of any question and get instant AI-generated step-by-step solutions
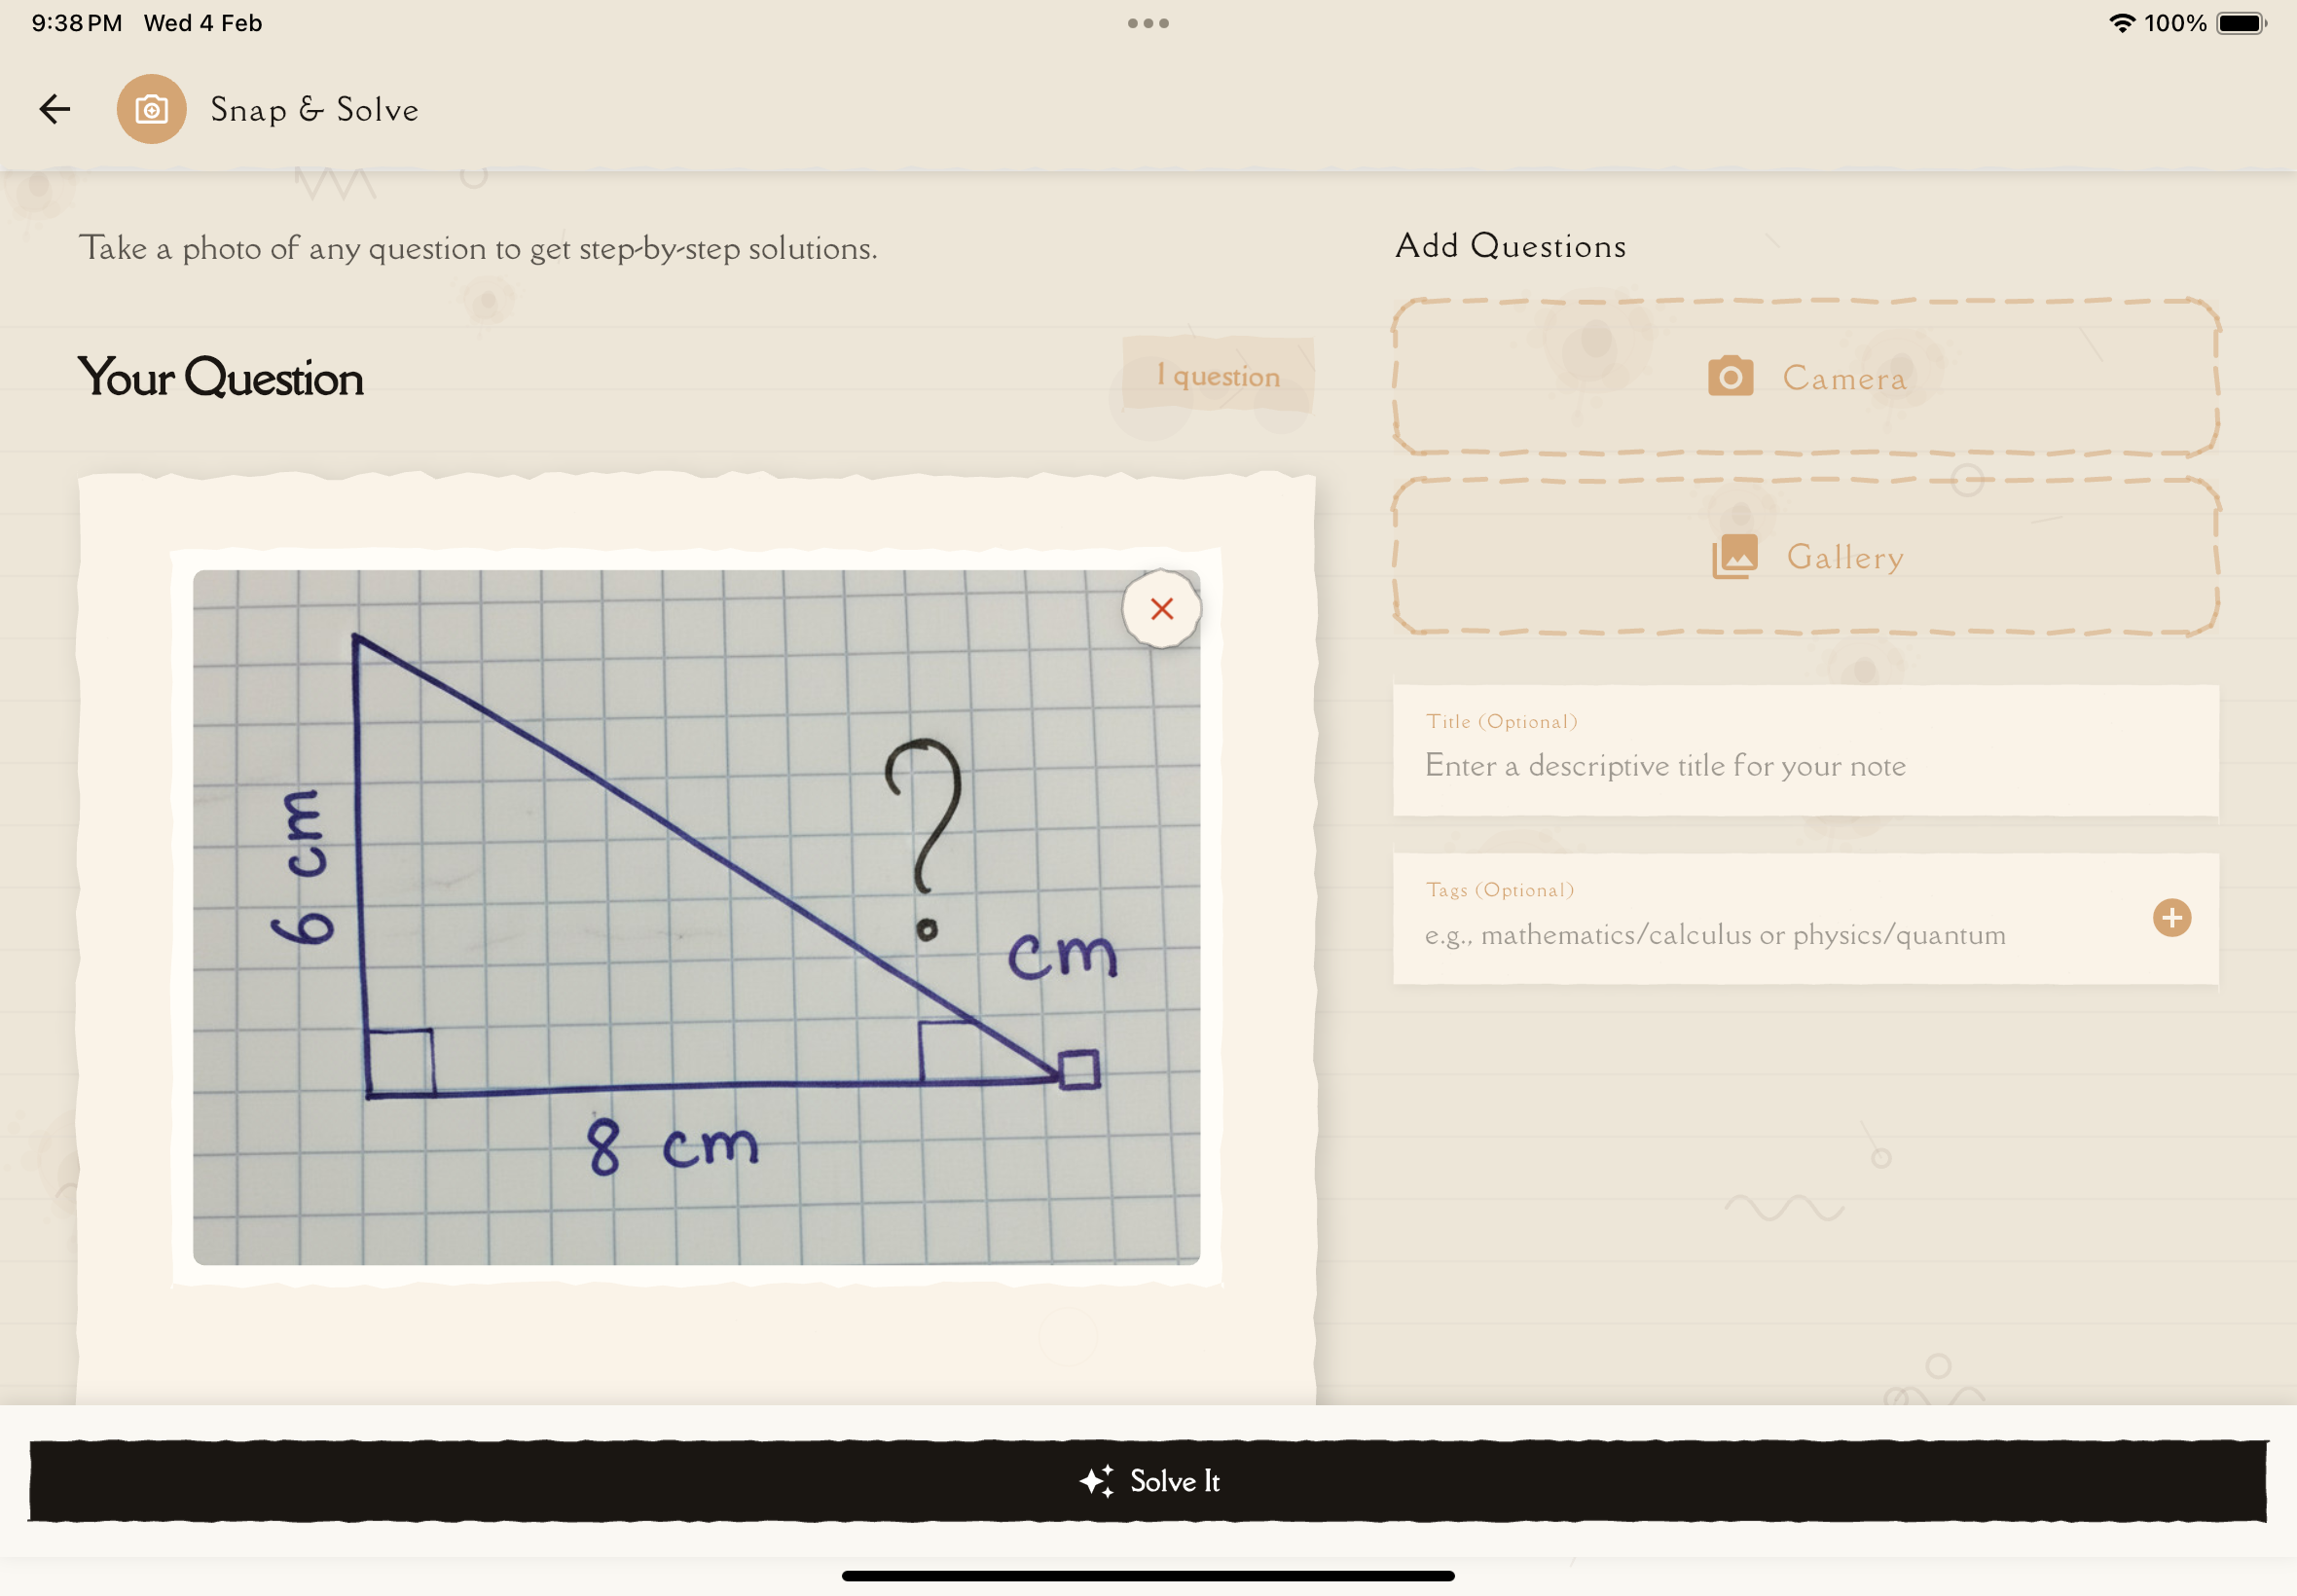
Stuck on a problem? Snap & Solve lets you photograph any question — math, chemistry, physics, or more — and instantly receive a detailed, step-by-step solution powered by AI.
When to Use Snap & Solve
Snap & Solve is perfect for:
- Math problems: Algebra, calculus, trigonometry, geometry, statistics
- Chemistry equations: Balancing reactions, stoichiometry, molecular formulas
- Physics questions: Mechanics, thermodynamics, optics, electricity
- Homework assignments: Any academic problem that needs a worked solution
- Textbook exercises: End-of-chapter problems with step-by-step breakdowns
- Exam preparation: Practice problems where you want to verify your work
Snap & Solve focuses on solving individual problems with detailed explanations. If you want to create study notes from an entire textbook page, use Scan Notes instead.
How It's Different from Scan Notes
| Feature | Snap & Solve | Scan Notes |
|---|---|---|
| Purpose | Solve problems step-by-step | Create study notes from text |
| Input | Single photo of a question | Multiple pages of content |
| Output | Detailed solution with explanation | Structured study notes |
| Best for | Math, science, homework problems | Textbooks, handwritten notes, whiteboards |
Step-by-Step Guide
Go to the Notes tab and tap the New Note button.
From the creation options, tap Snap & Solve (represented by a camera-enhance icon).
Snap & Solve is available on mobile devices only (iOS and Android). It is not available on the web version.
You have two options:
Take a photo: Tap the Camera button to photograph your question directly. Point your camera at the problem and snap a clear photo.
Choose from gallery: Tap the Gallery button to select an existing photo from your device.
Unlike Scan Notes, Snap & Solve works with one image at a time. Each new photo replaces the previous one.
After capturing or selecting your photo, you'll see a preview of the image. Make sure the question is:
- Clearly visible and readable
- Fully within the frame
- Not blurry or obscured
If the photo isn't clear enough, tap the camera or gallery button again to retake it.
Tap the "Solve It" button at the bottom of the screen. A confirmation dialog appears showing the estimated number of questions detected.
Tap "Solve" to proceed.
AI analyzes your photo and generates a solution. This typically takes 15-45 seconds.
Once complete, a new note is created containing:
- Original question: The problem as recognized from your photo
- Step-by-step solution: Detailed walkthrough of how to solve it
- Key concepts: Important principles and formulas used
What AI Can Solve
Fully Supported
- Algebra: Linear equations, quadratic equations, systems of equations, inequalities
- Calculus: Derivatives, integrals, limits, series
- Trigonometry: Identities, equations, graphing
- Geometry: Proofs, area/volume calculations, coordinate geometry
- Statistics: Probability, distributions, hypothesis testing
- Chemistry: Balancing equations, stoichiometry, molecular structures
- Physics: Kinematics, dynamics, energy, waves, circuits
Partially Supported
- Advanced mathematics: Complex analysis, abstract algebra (may have errors)
- Organic chemistry: Complex synthesis pathways (best for simpler reactions)
- Word problems: Works well when the question is clearly written
- Multiple questions in one photo: AI identifies and solves each separately
Tips for Best Results
- One problem per photo gives the most accurate results
- Clear handwriting or printed text works best
- Good lighting helps AI read the problem accurately
- Include the full question — don't crop important context
- Avoid glare on glossy textbook pages
Photo Tips
For Printed Problems
- Hold your device steady and parallel to the page
- Ensure even lighting without shadows across the text
- Include the full problem statement and any diagrams
- Avoid glare from glossy paper
For Handwritten Problems
- Write clearly with good contrast (dark pen on light paper)
- Make sure all symbols and numbers are legible
- Include any relevant diagrams or graphs
- Avoid smudges or crossed-out work in the photo
For Whiteboard/Screen Problems
- Reduce glare by adjusting your angle
- Make sure the entire problem is in frame
- Wait for the board to be fully written before snapping
If AI has trouble reading your photo, try retaking it with better lighting or zooming in on the specific problem.
Understanding Your Solution
Each Snap & Solve result is saved as a note with a structured solution:
Solution Structure
- Problem Statement: The original question as recognized by AI
- Solution Steps: Each step clearly numbered and explained
- Key Formulas: Relevant formulas and principles highlighted
- Final Answer: The answer clearly stated
- Concepts Used: A summary of the mathematical or scientific concepts applied
After Solving
Your solution note works just like any other note in Notesmakr:
- Study it using the note study tools
- Generate flashcards from key concepts
- Take a quiz to test your understanding
- Share it with classmates
- Add personal notes with your own insights
Troubleshooting
AI can't read the problem
Possible causes:
- Photo is blurry or out of focus
- Poor lighting or heavy shadows
- Handwriting is unclear
- Problem is partially cropped
Solutions:
- Retake the photo with better lighting
- Hold your device steady to avoid blur
- Zoom in on the specific problem
- Write more clearly if using handwritten problems
Solution seems incorrect
Possible causes:
- AI misread a symbol or number from the photo
- Problem is ambiguous or requires additional context
- Very advanced or specialized topic
Solutions:
- Check if AI correctly identified the problem — look at the "Problem Statement"
- Retake the photo with clearer visibility
- Add context by editing the note afterward
- Verify critical steps against your textbook or course material
Always verify solutions, especially for exams or graded assignments. AI is a powerful tool for learning but can make mistakes, particularly with complex or ambiguous problems.
"No questions detected"
Possible causes:
- Photo doesn't contain a recognizable problem
- Image quality is too low
- Content is in an unsupported format
Solutions:
- Make sure you're photographing an actual problem or question
- Improve photo quality (better lighting, focus)
- Try cropping to just the problem area
Tips for Effective Learning
Don't just copy the answer! Snap & Solve is most effective when you use it as a learning tool:
- Try the problem first: Attempt it on your own before snapping
- Compare approaches: See how AI's method differs from yours
- Understand each step: Don't skip steps — make sure you follow the logic
- Practice similar problems: Use the solution as a guide for related questions
- Create flashcards: Generate flashcards from the key concepts used in the solution
What's Next?
Your problem is solved — now deepen your understanding!
Or create notes from other sources: